2004 Progress
April 26, 2004:
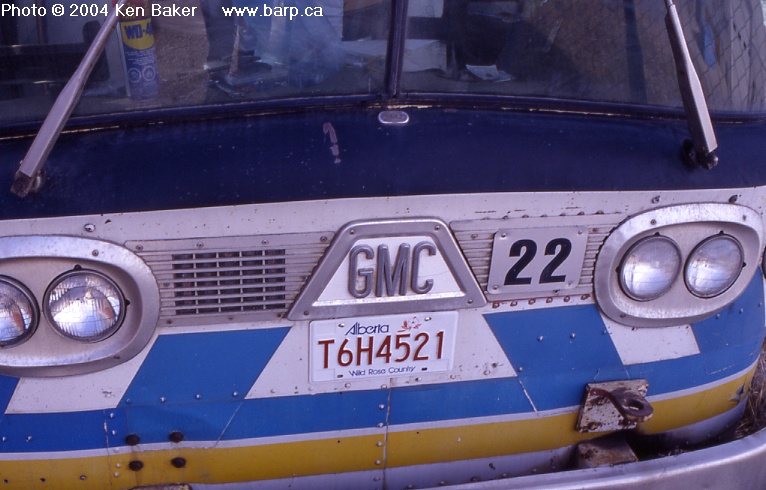
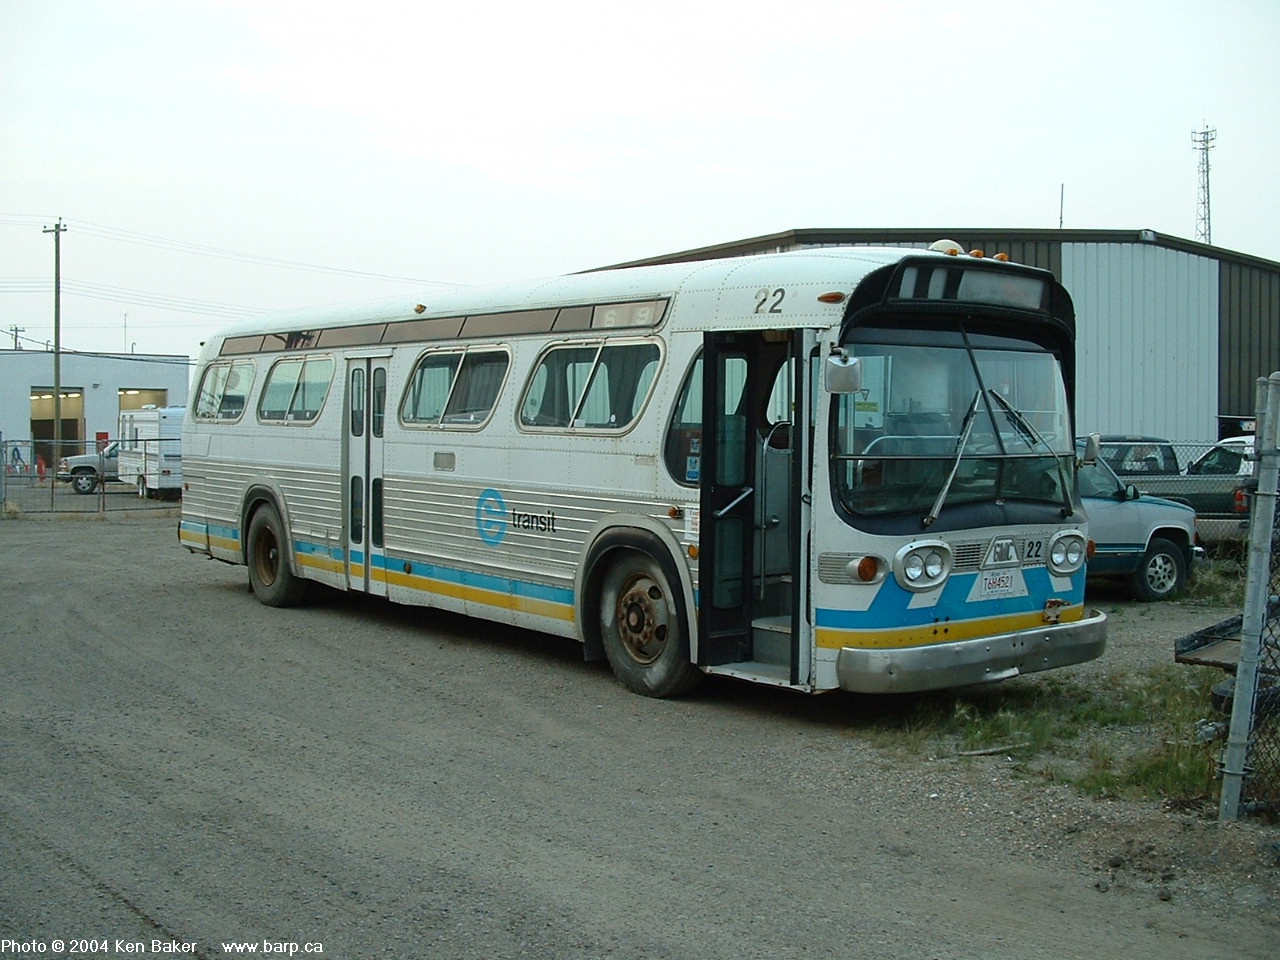
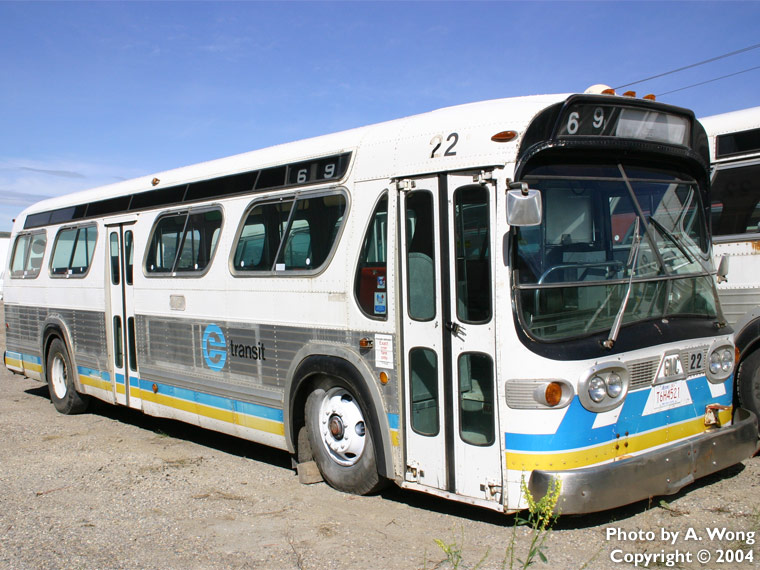
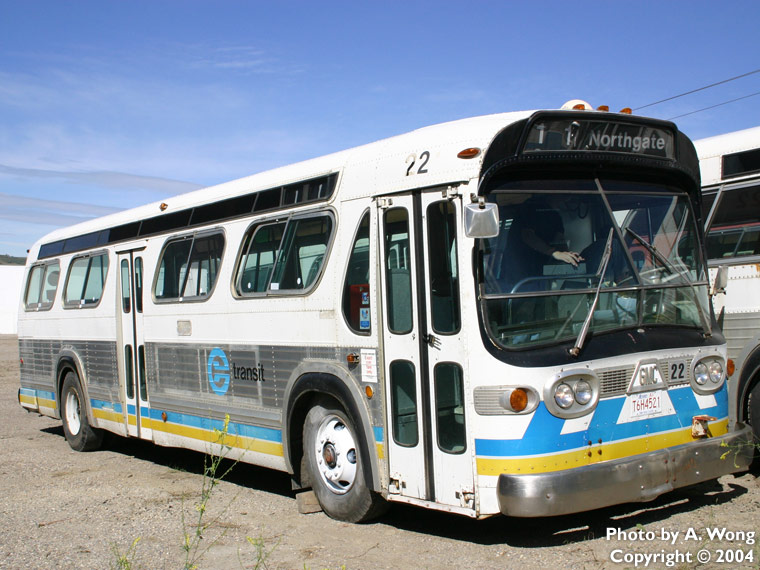
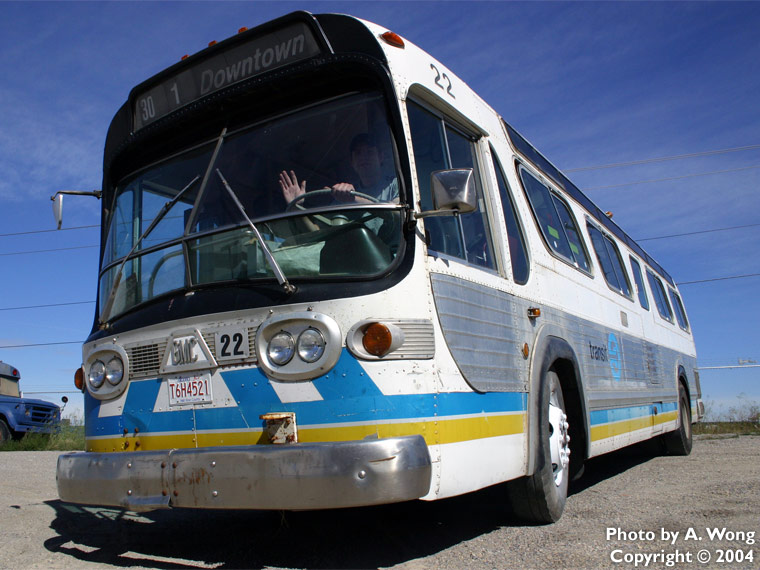
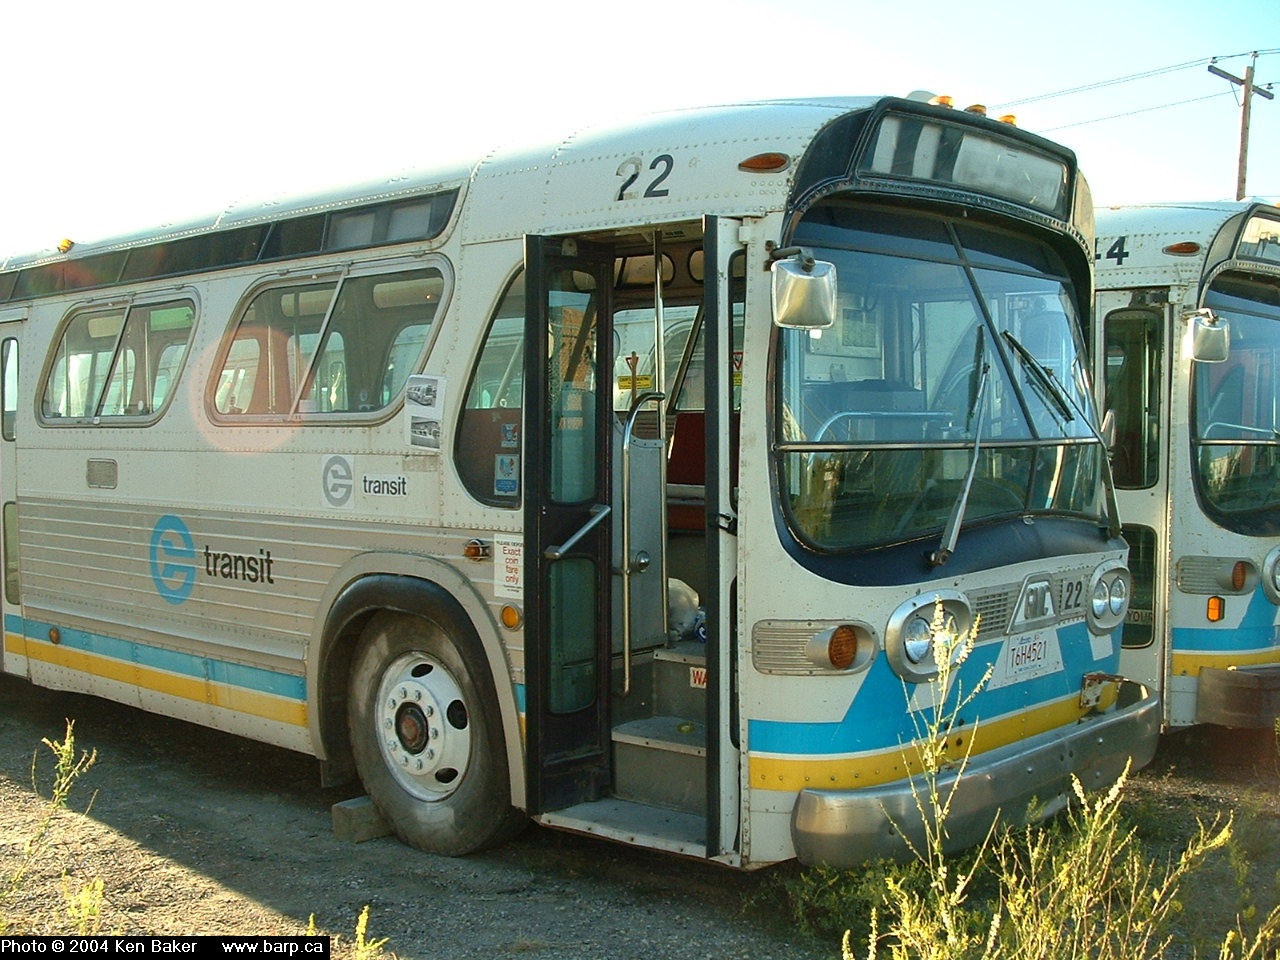
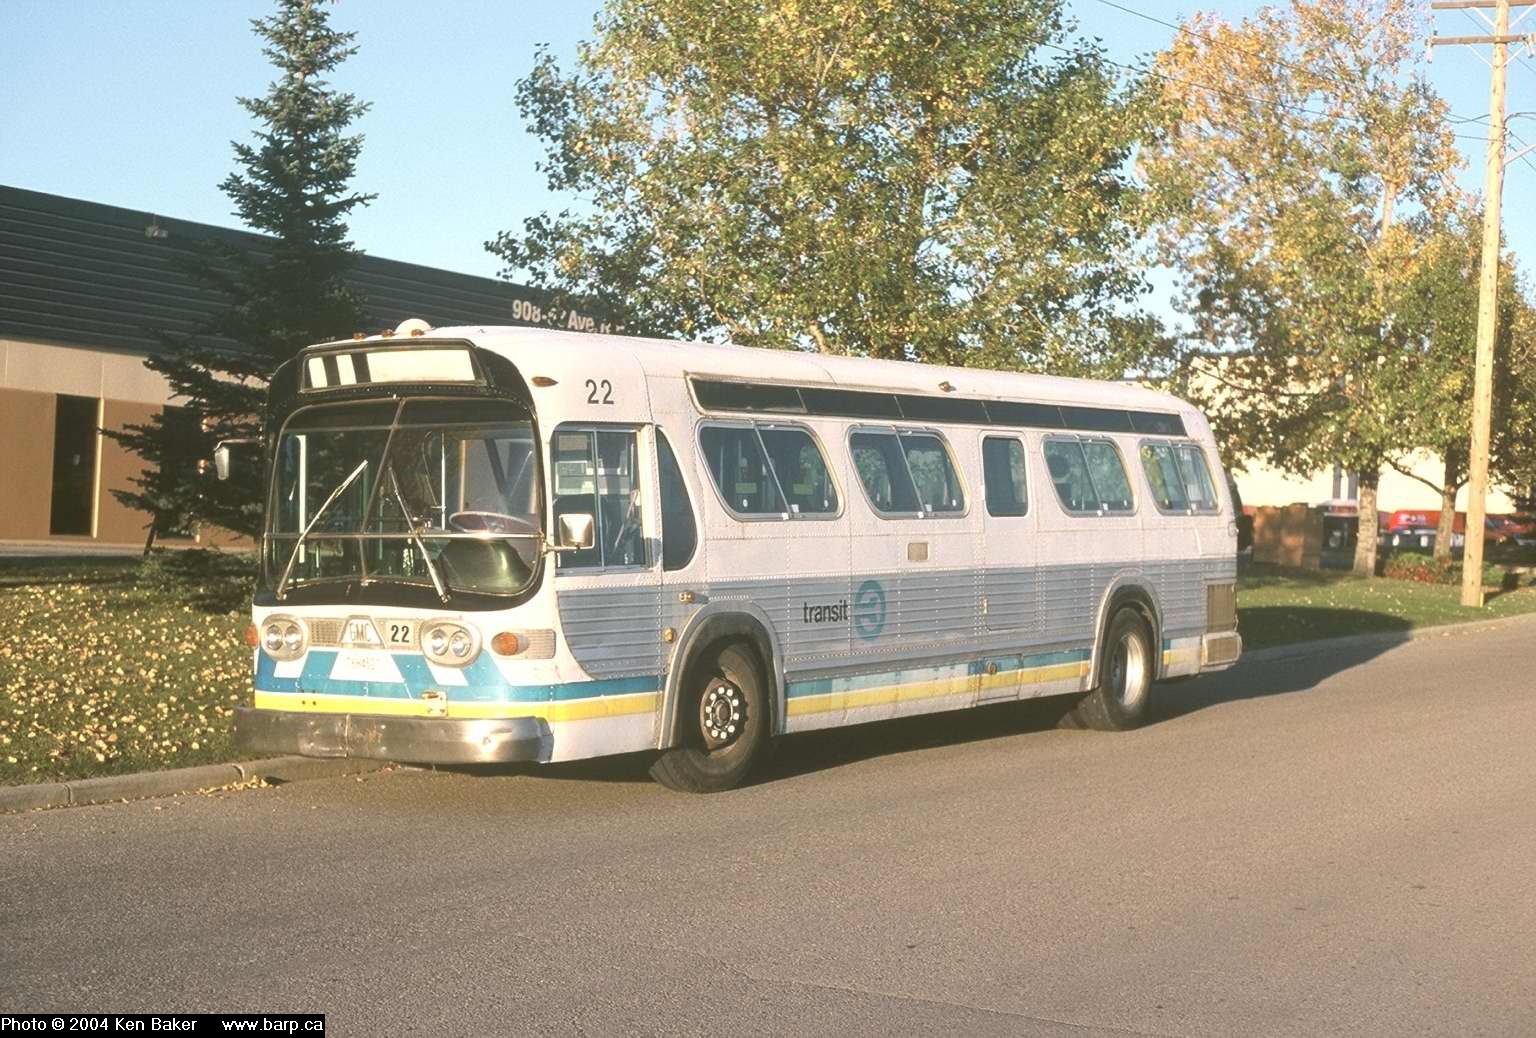
Of course, one of the things that I wanted to do was to get a pair of personalized license plates for the bus. In Alberta, they allow you to have 7 characters on the plate, which worked out perfectly for me for this one. I ordered the pair with the plate number T6H4521 to match the model of the bus. At the present time, I only have the front one on the bus, seeing how the rear already has an antique auto license plate. Alberta doesn't require you to have a front license plate, but I had decided to put one on anyways. The above two photos shows the bus with the personalized license plate T6H4521 installed, taken on April 26, 2004
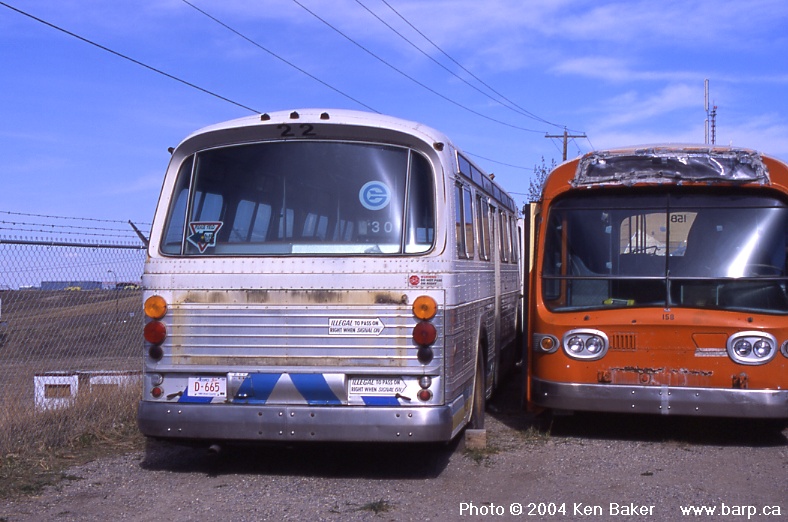
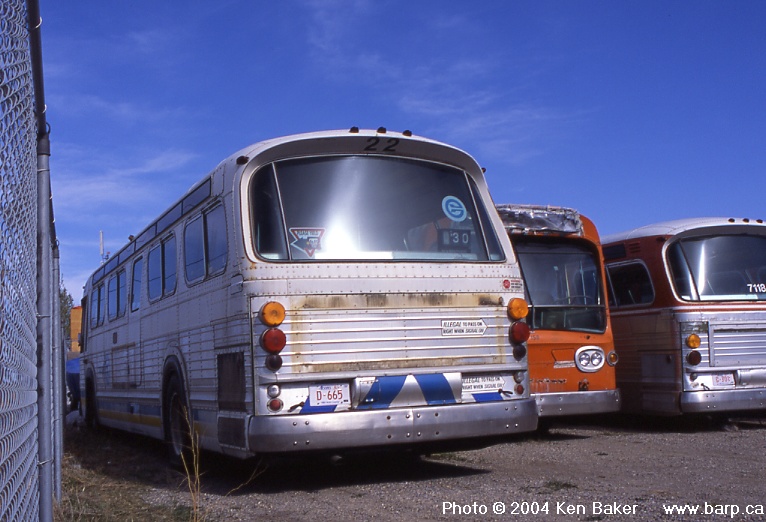
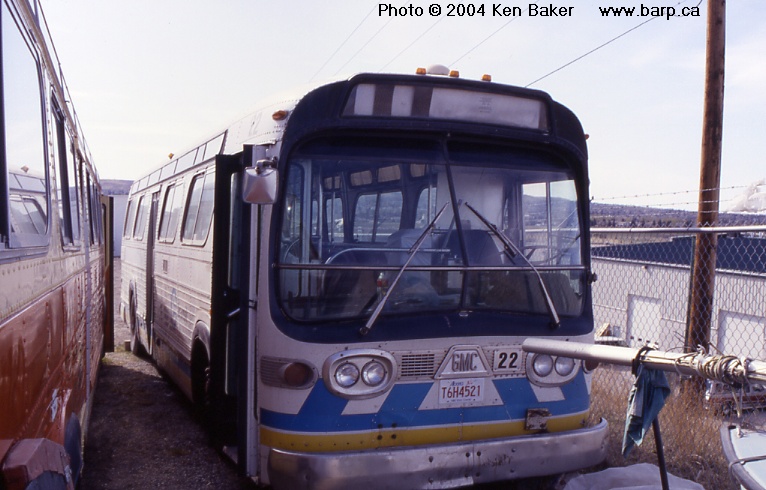
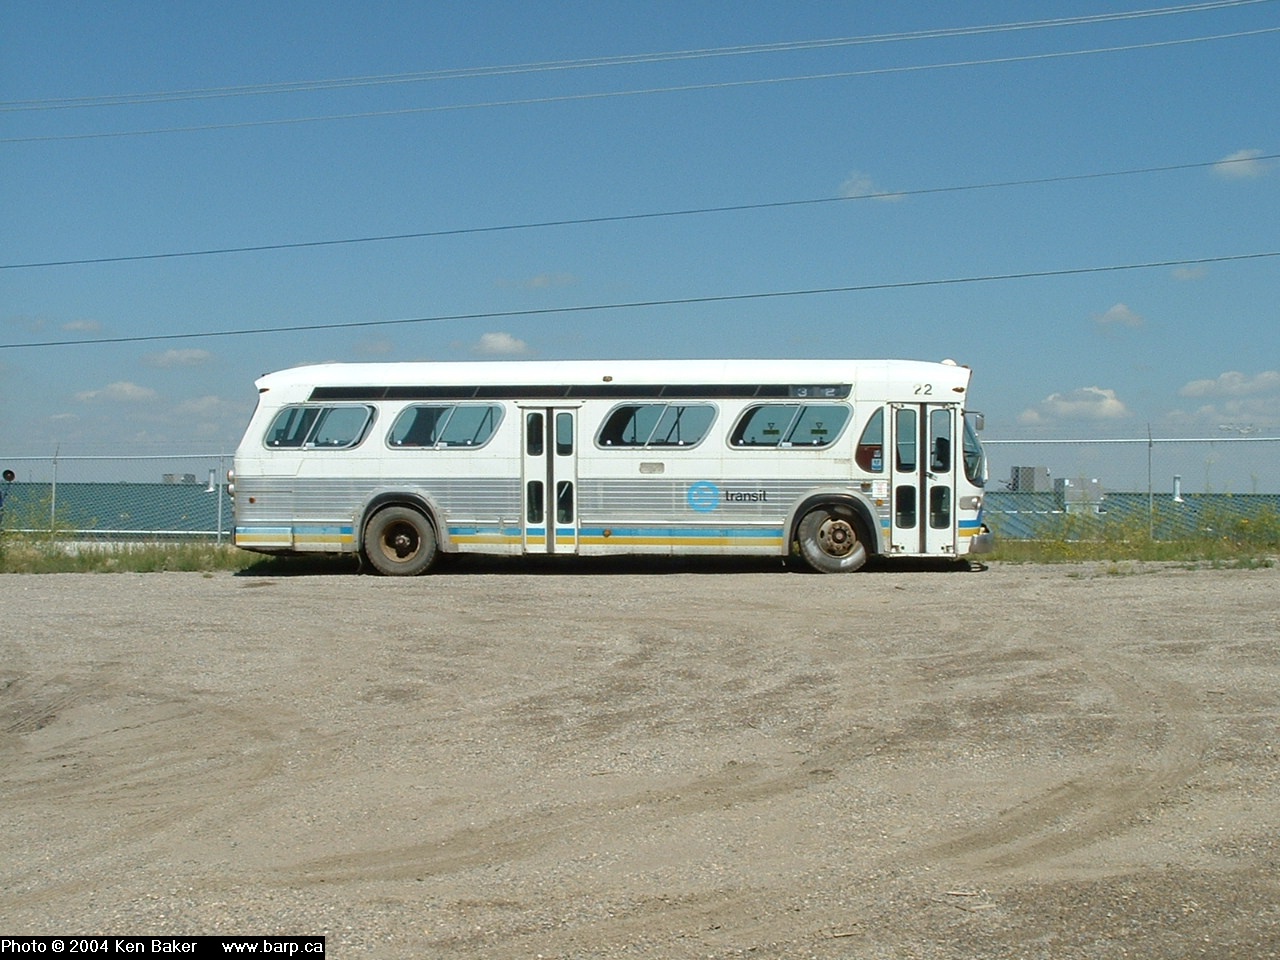
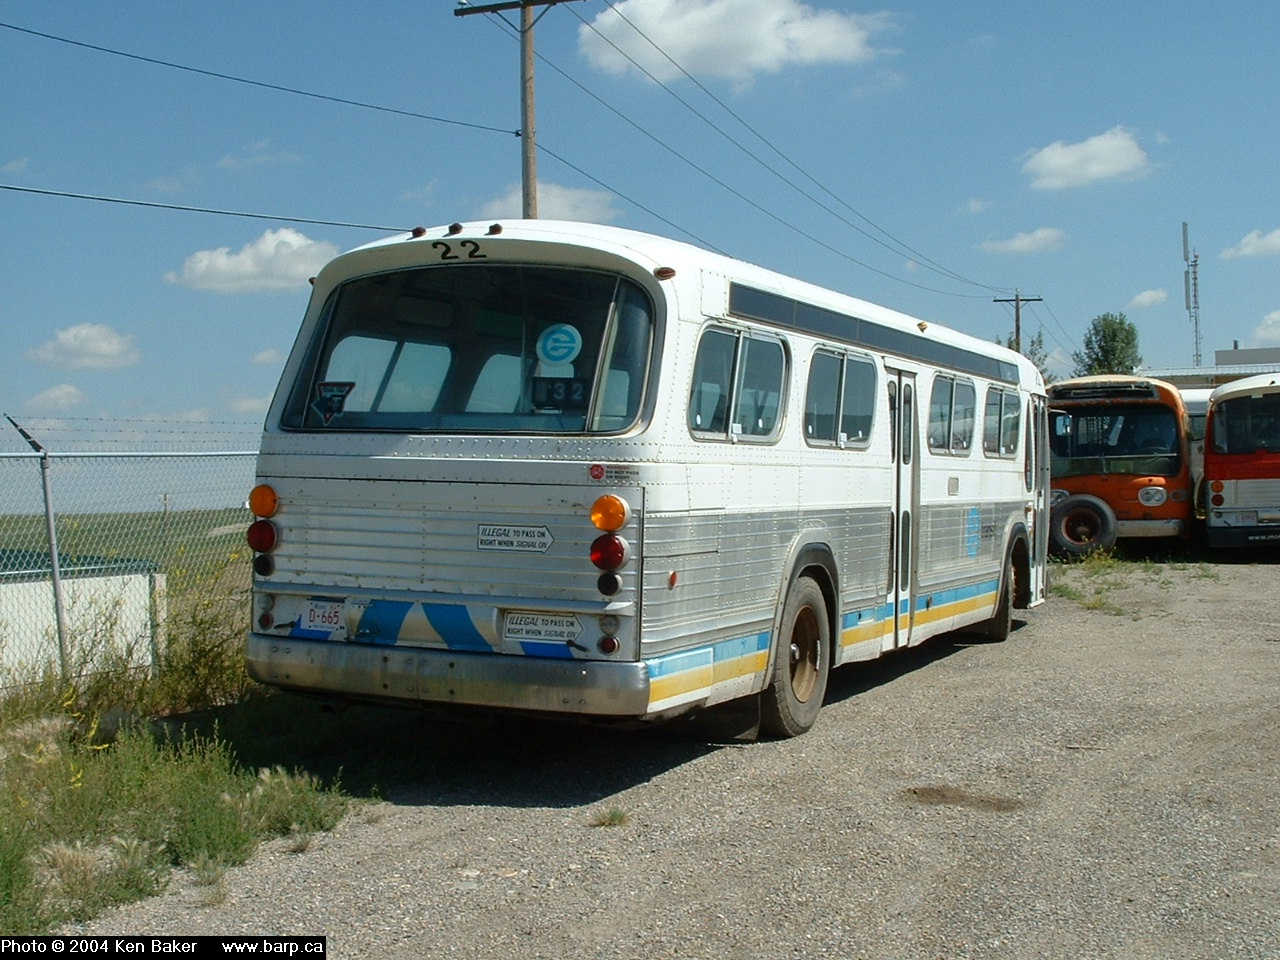
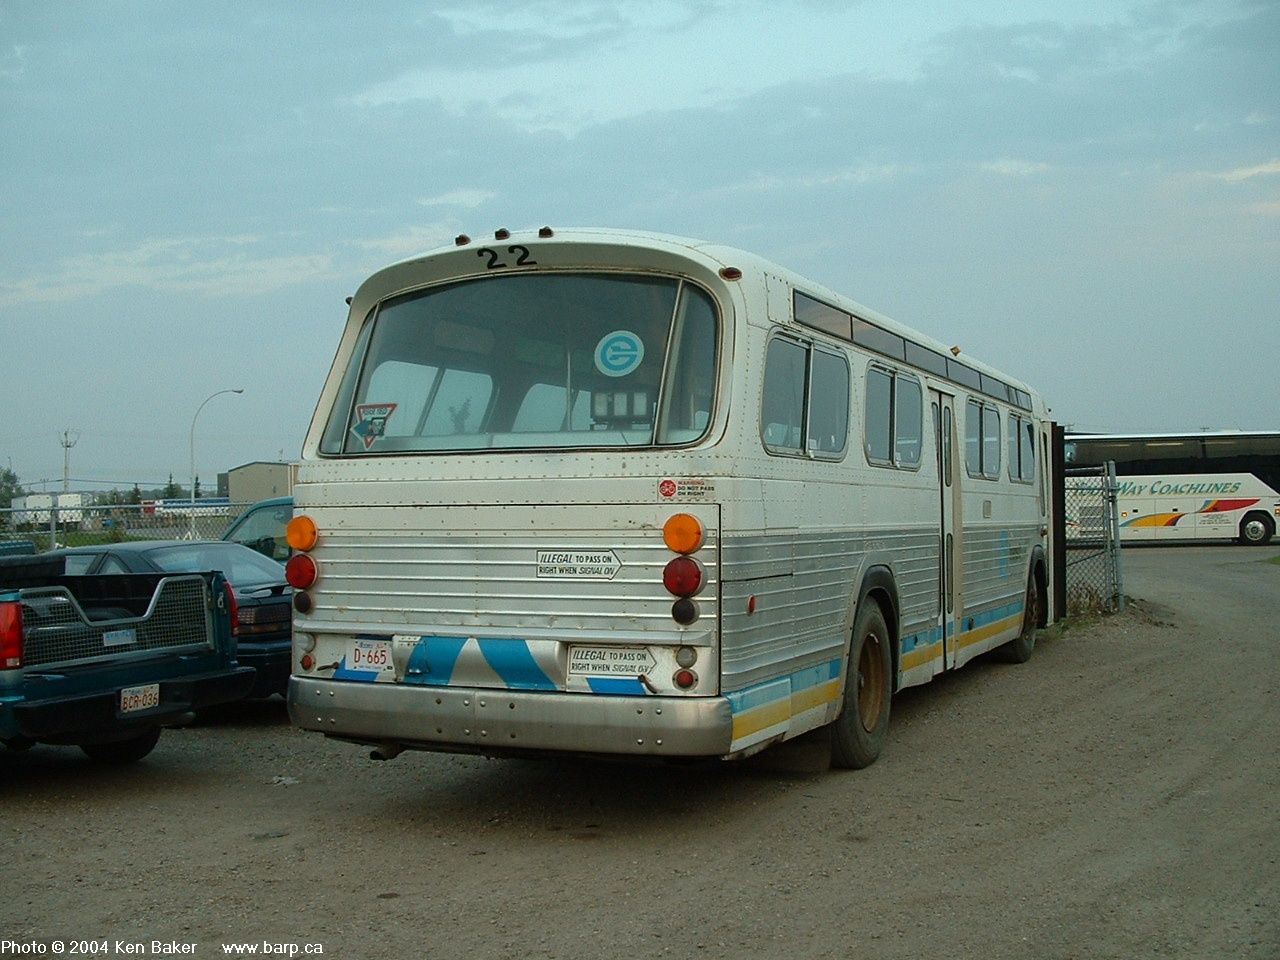
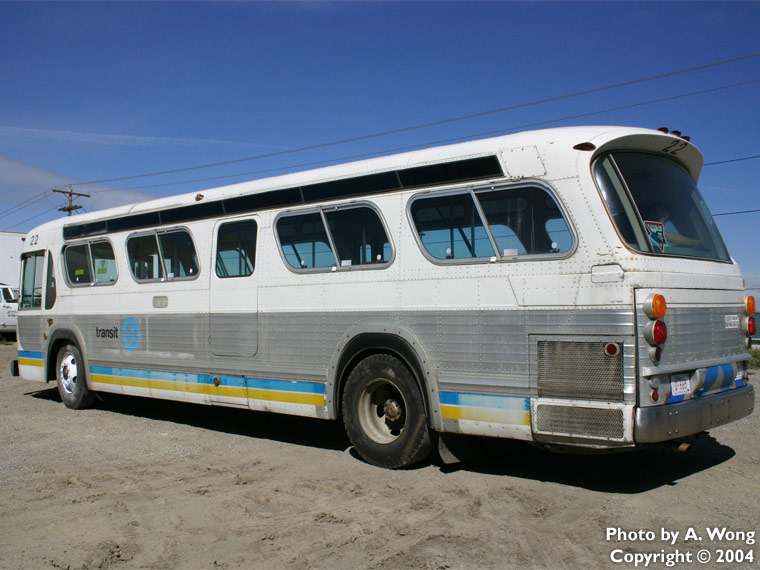
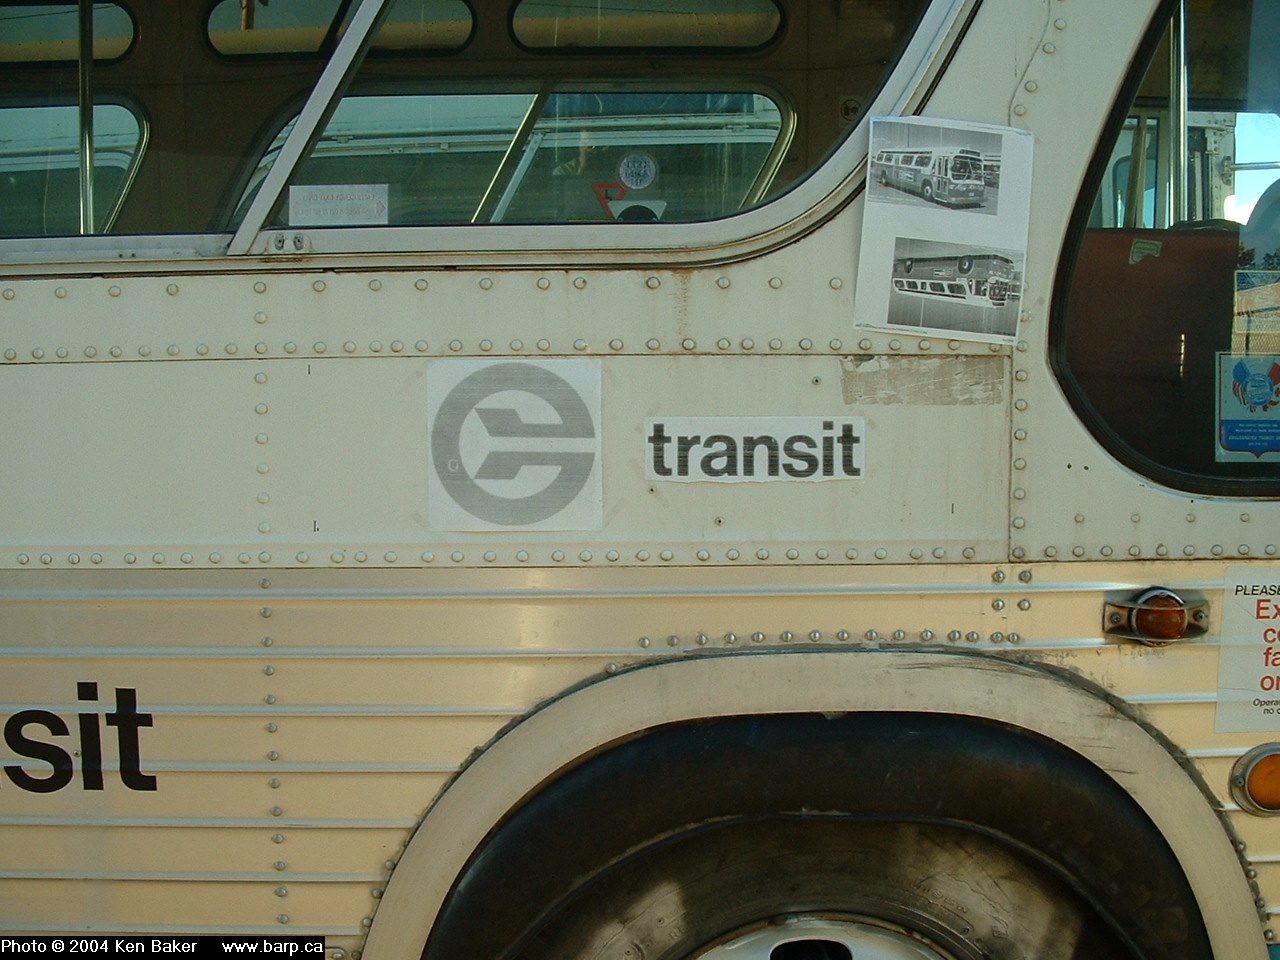
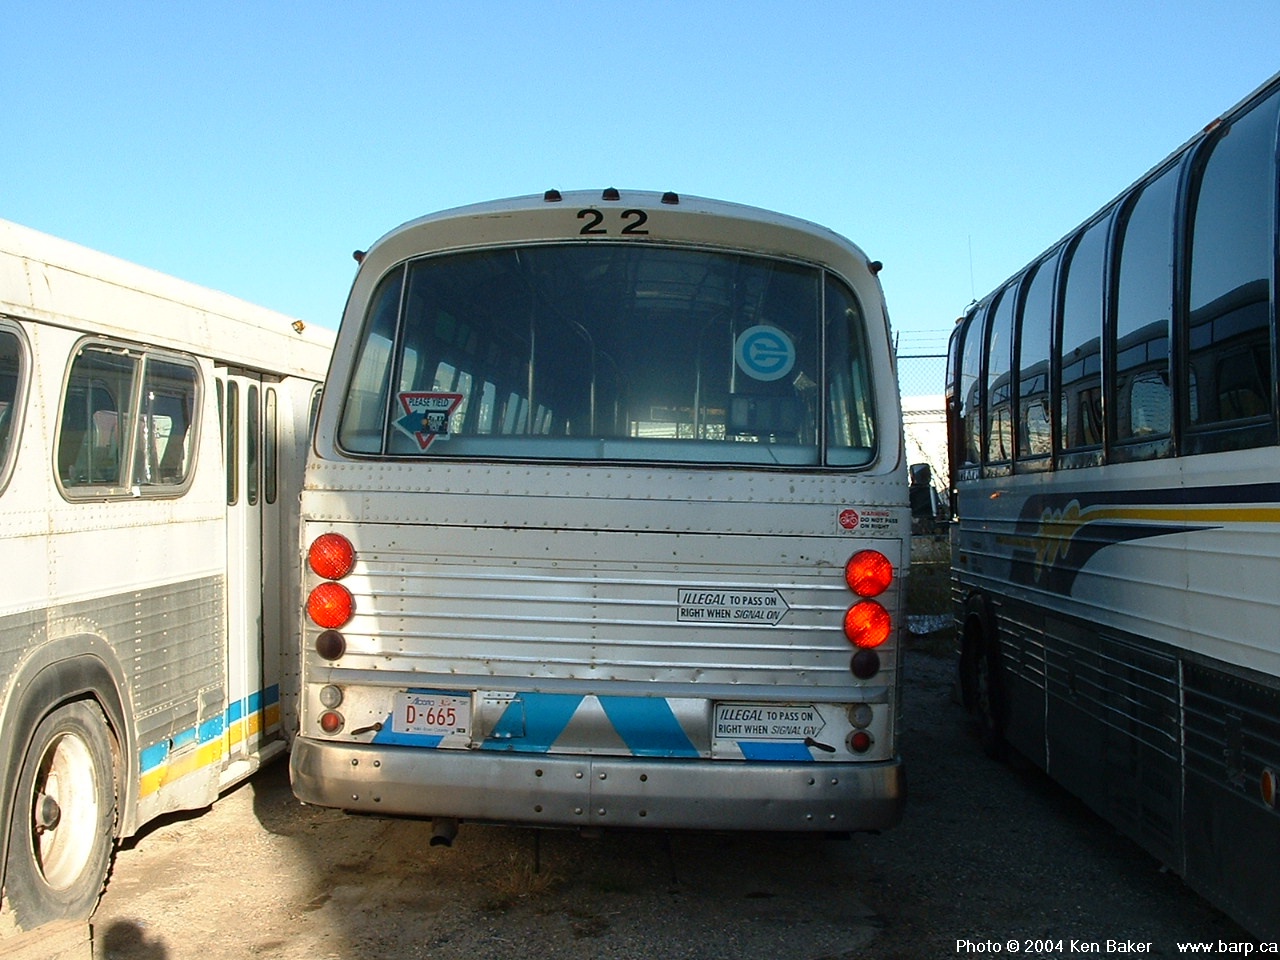
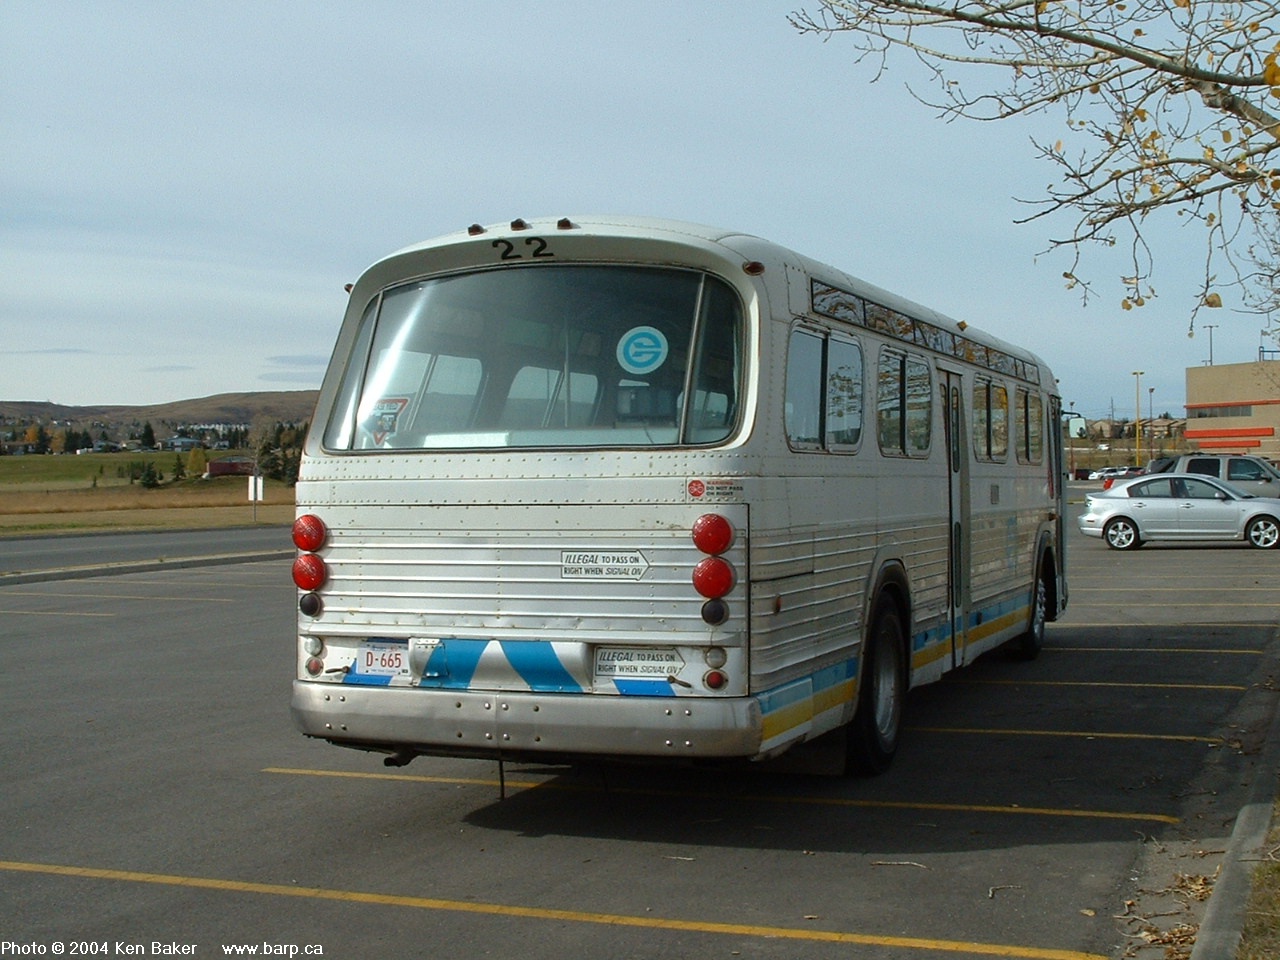
A couple of rear views of 22 are shown above two photos after I had removed the ad panels from the rear and the driver's side. The buses you can see in the two photos are my old Winnipeg Transit bus, Ex-271 that I had sold to Canadian Premier Charters to restore and beside that bus is Ex-Red Deer Transit 7118 that was purchased from a private owner.
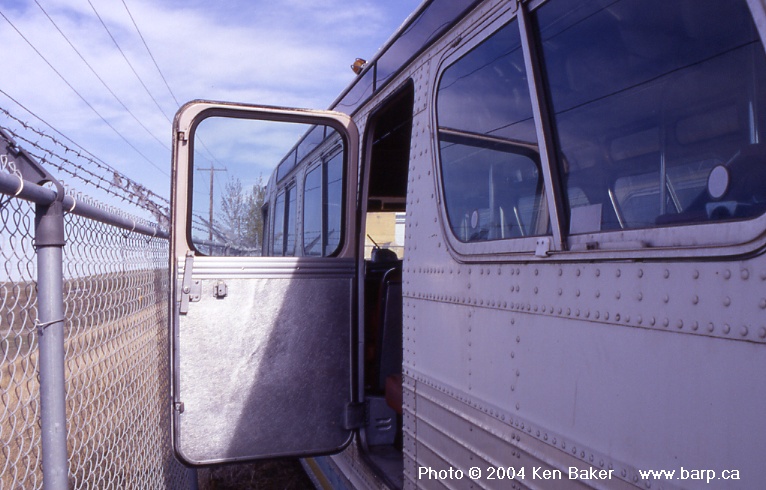
The above photo shows the emergency door on the driver's side of the bus opened up. Edmonton Transit had it riveted shut on the handle and cut the handle down so no one could get the door open. On the exterior, they had placed an ad panel over top of part of the door.
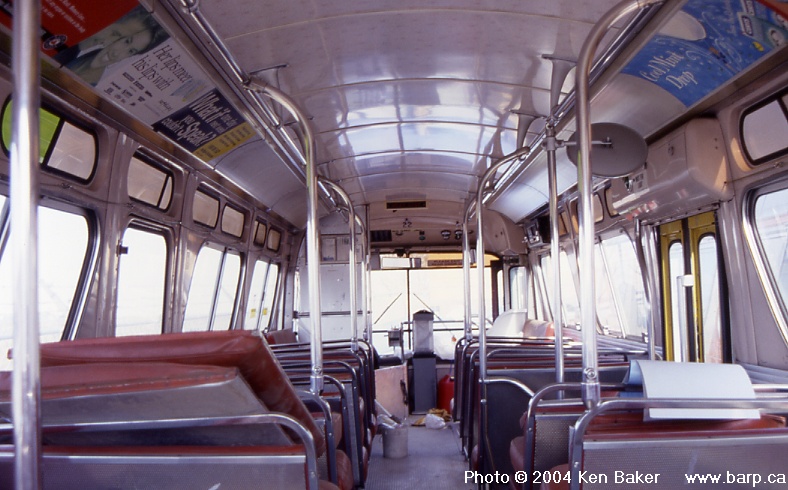
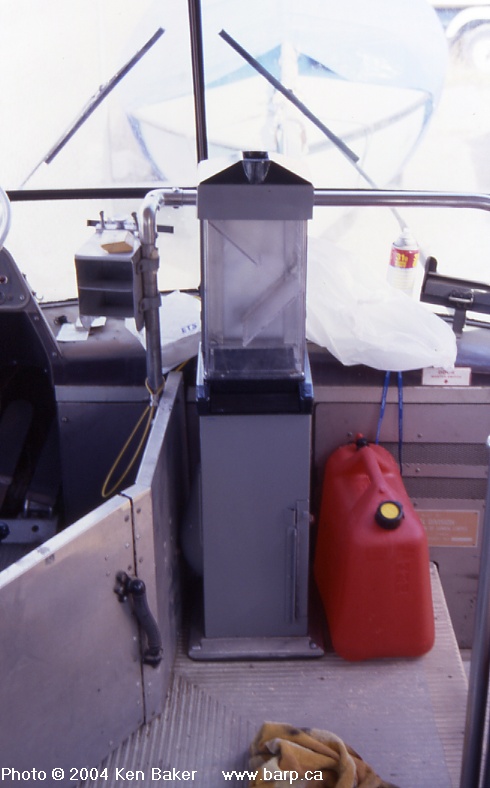
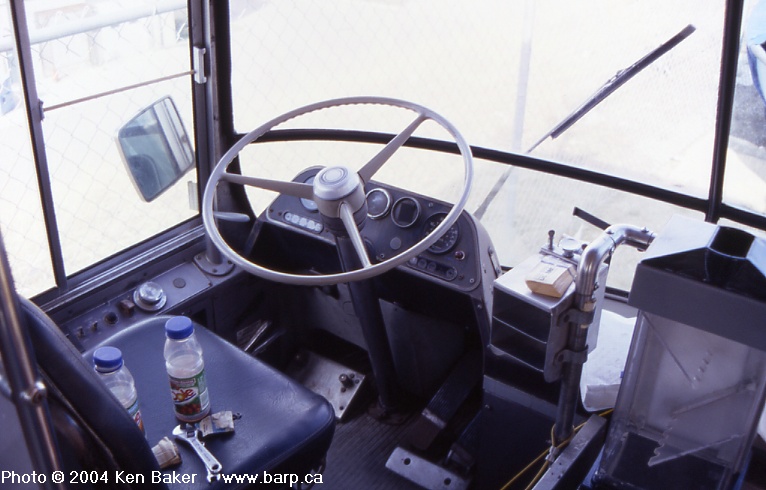
The above 3 shots shows the interior of 22. The first shot is taken from the back of the bus towards the front, showing the new farebox installed and the ads placed back in the interior ad racks. The second shot is a close up photo showing the farebox installed. And finally, the third shot shows the driver's area of the bus. The farebox that I had installed is a former Translink/BC Transit/BC Hydro Duncan Industries farebox that came from Vancouver. It was sold off at the end of March 2002 from Vancouver to Red Deer Transit (AB) and when they decided that they didn't need it, it was sold off at Osman Auctions in Edmonton and I ended up getting two of these fareboxes, one for this bus, and one for my other bus, Ex-ETS 638.
July 25, 2004:

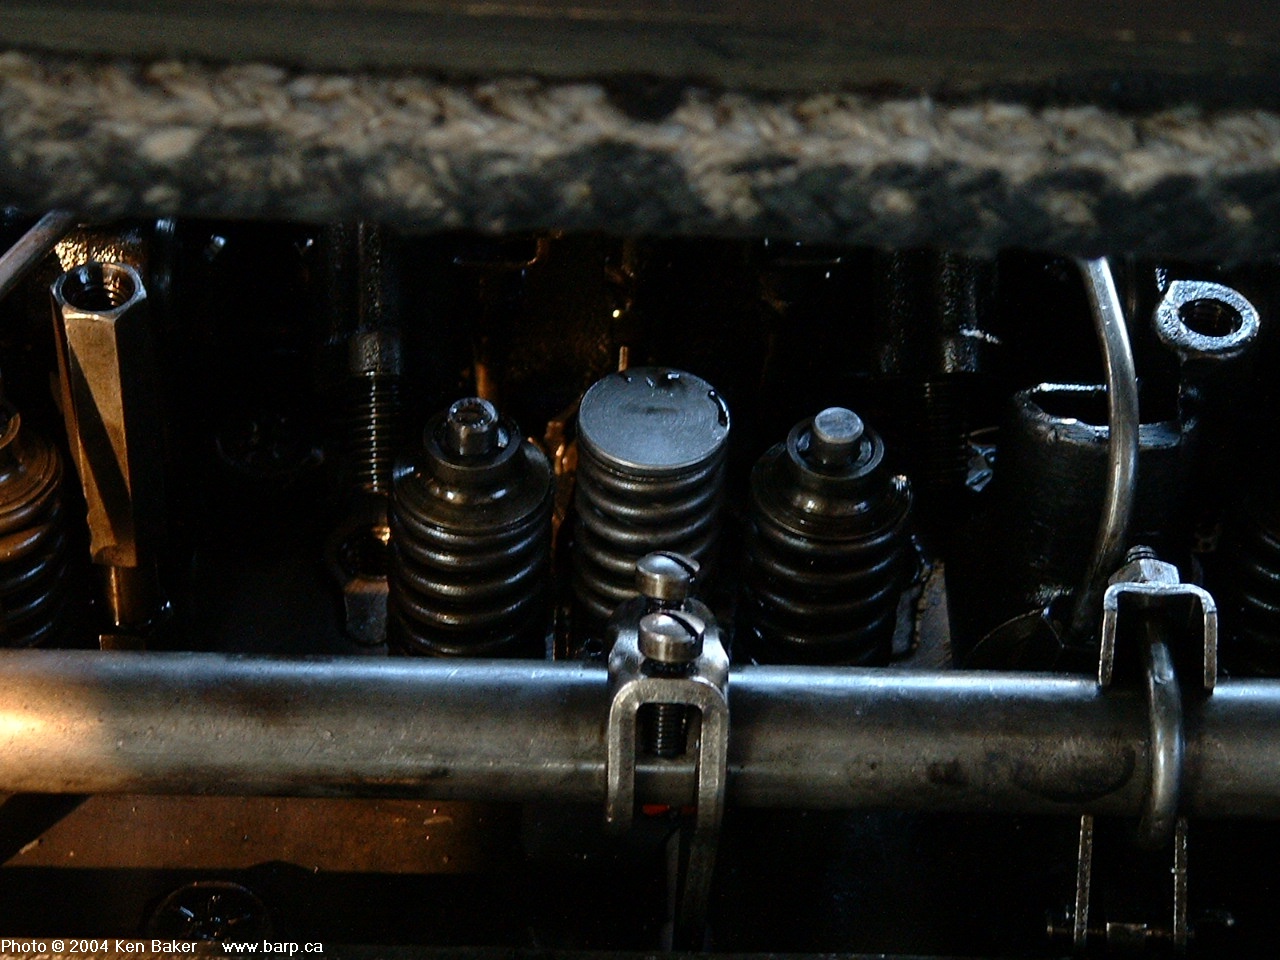
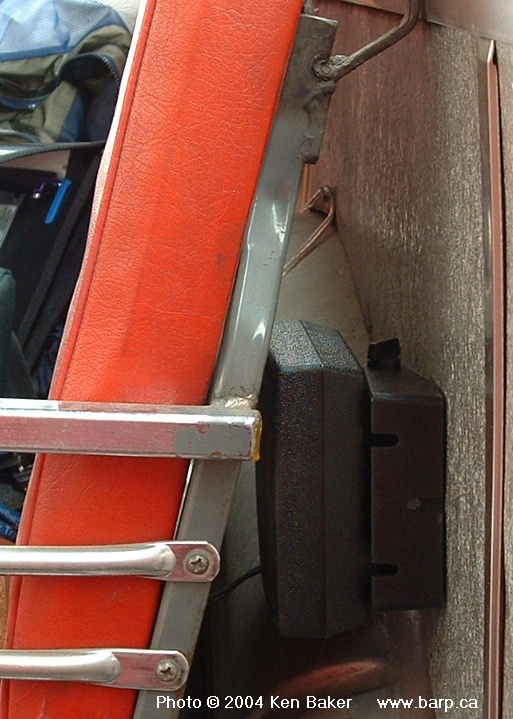
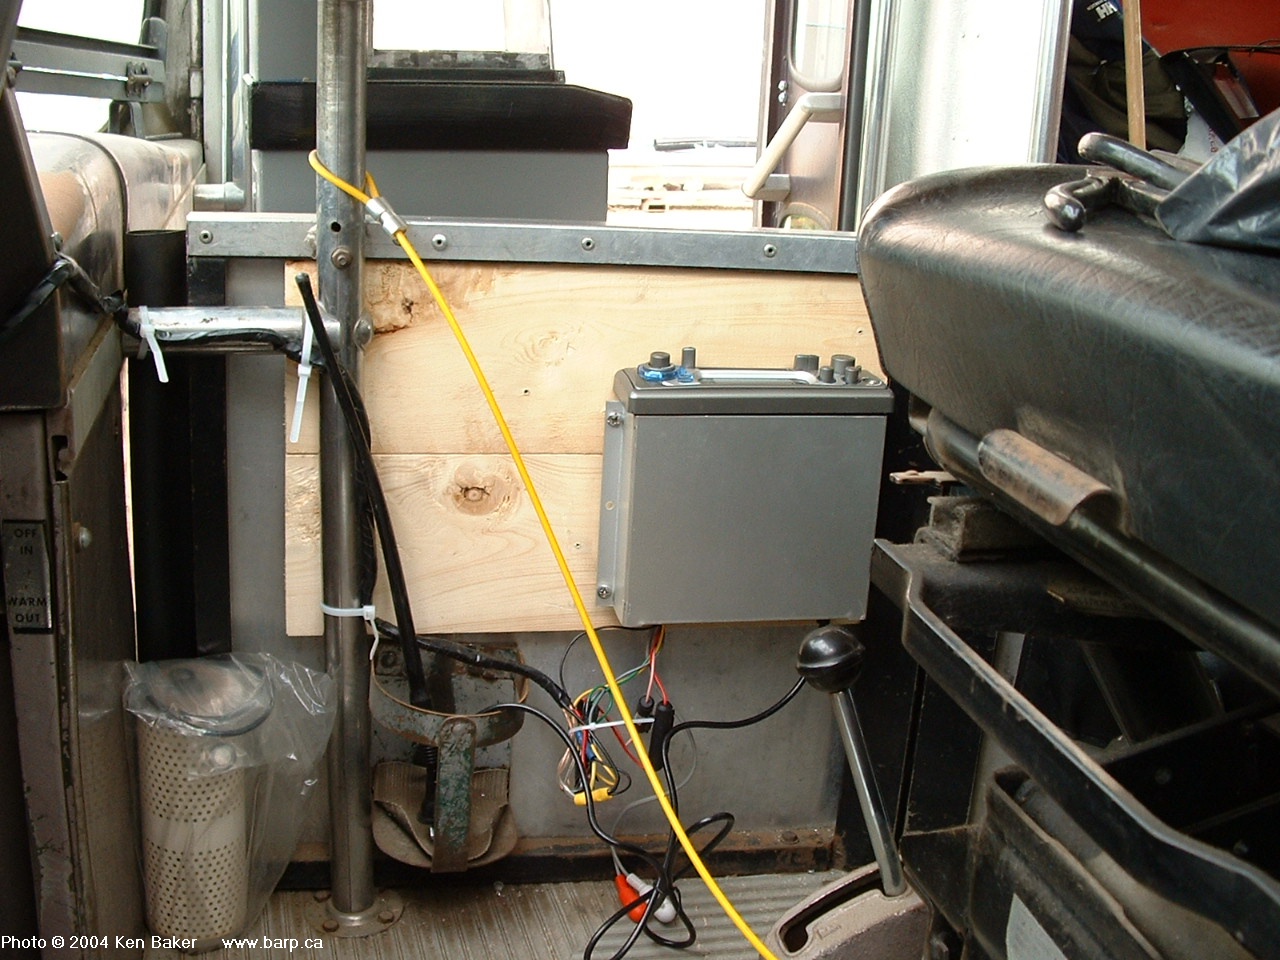
For the time being while I waited to get the bus running, I was able to obtain some replacement parts for my farebox to be changed to look like the more authentic type with the "metal arm" on the inside to let the coins fall through. It sounds and looks better than it did with the plastic parts glued inside the top part of the farebox. Back within the past few months, I did install a 12 volt electrical system to operate other accessories in my bus, including the Edmonton Transit style of CB Radio and having the option of being able to plug in a AC power inverter for using stuff like power tools to repair the bus in remote areas, using stereos, etc. A better photo showing the proper style of farebox will be added into this section when I have a chance to do so, but for now, here is a photo showing it a little blurry.
August 1, 2004:
For those of you that didn't know, I did have some mechanical troubles getting this bus to start after I had purchased it. After some long waits, the problem was finally diagnosed and hopefully will be fixed soon. The problem of not being able to get the bus started led back to a bad injector that froze shut, but hopefully I will be able to get this problem fixed and have my bus run properly one day. Once my bad injector is fixed, I'll have to pull out my two buses and park them side by side for a photo.
August 3, 2004:
After a call to the local Detroit Diesel dealership, I have called to get a quote on getting that bad injector replaced. The estimated cost to get the injector replaced was $562, which is about half of what I was estimating it would have cost to get that engine back to operating condition. If everything goes to plan, I should be getting that injector replaced on either Monday August 9th or Tuesday August 10th, 2004. After that time, I will be looking in to getting the bit of bodywork needing to be done, getting the tires fixed, and photographing the bus the way it is before getting it prepped for painting. I am hoping that I am able to take the bus in to be painted sometime before October as long as everything goes to plan.
Once this injector is fixed too, I plan on doing a major cleaning of the bus, including it's interior and probably the exterior too. The interior is in the most dire need of cleaning as there is still water stains on the floor from being stored for over 6 years. I also have to prepare the bus to be winterized too, mainly changing the coolant out to the 50/50 mix of antifreeze. This will be done sometime in September before the cold snaps start occurring.
August 10, 2004:

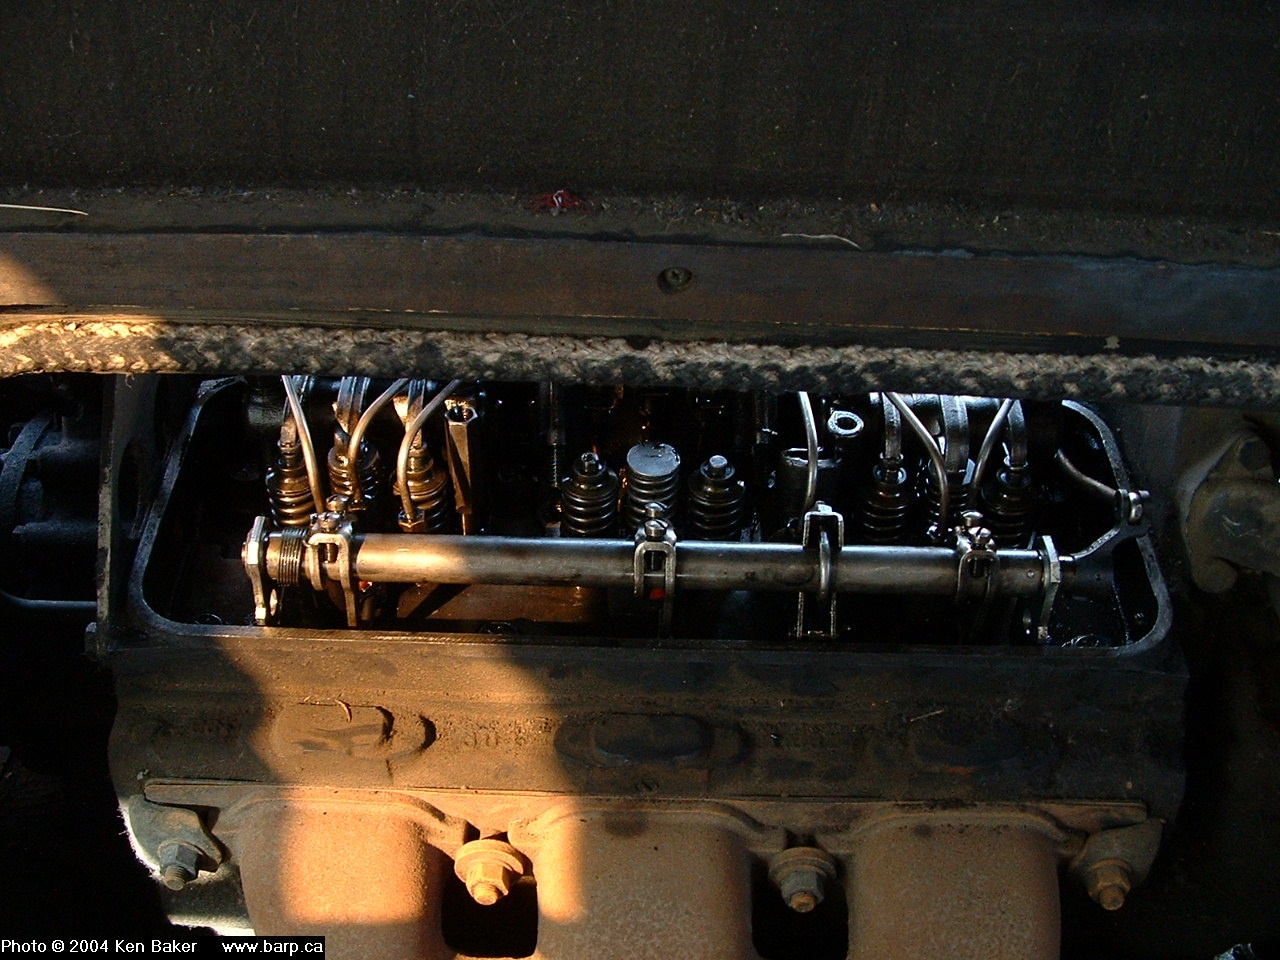
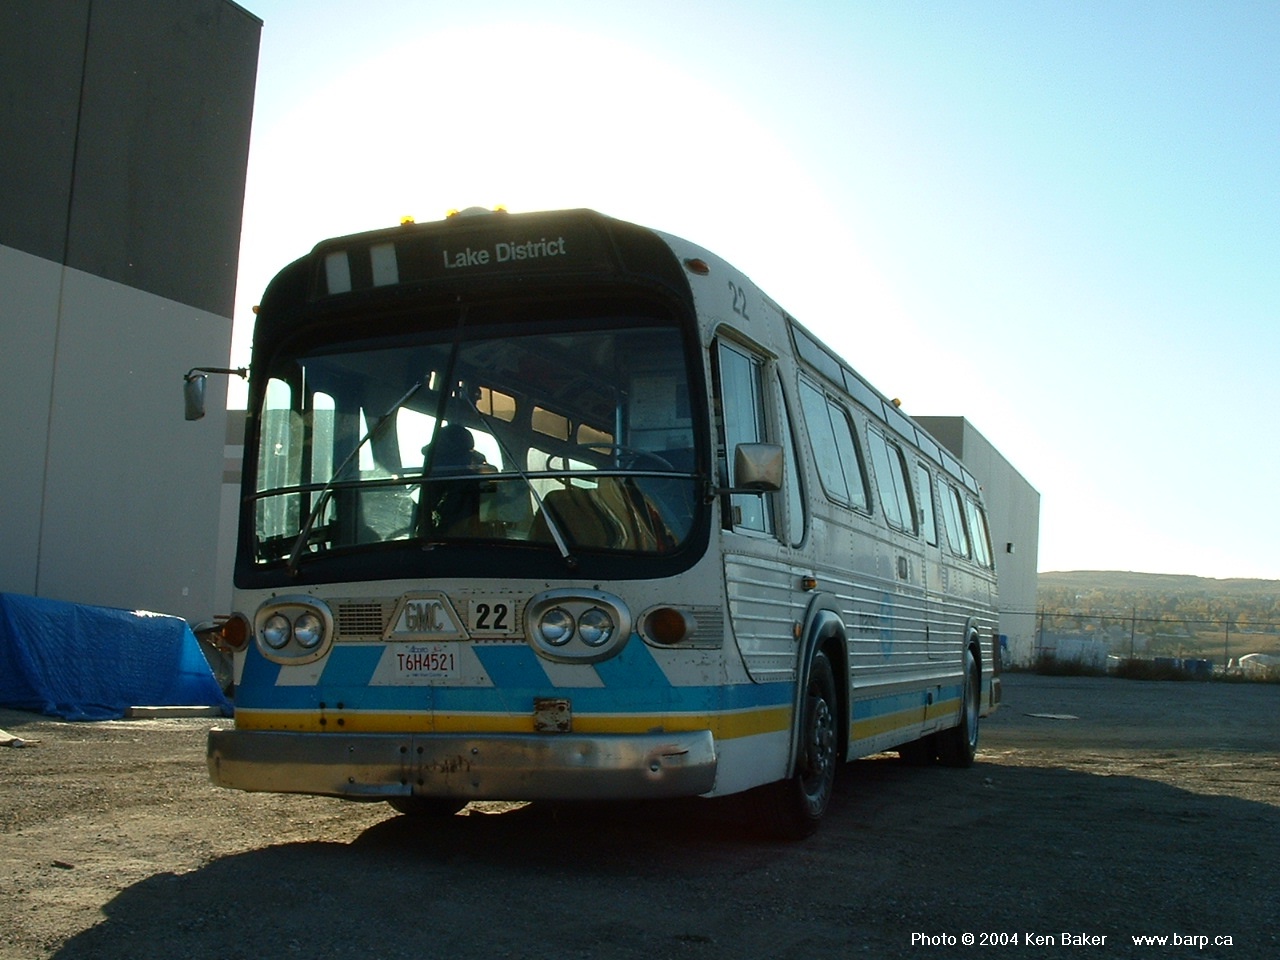
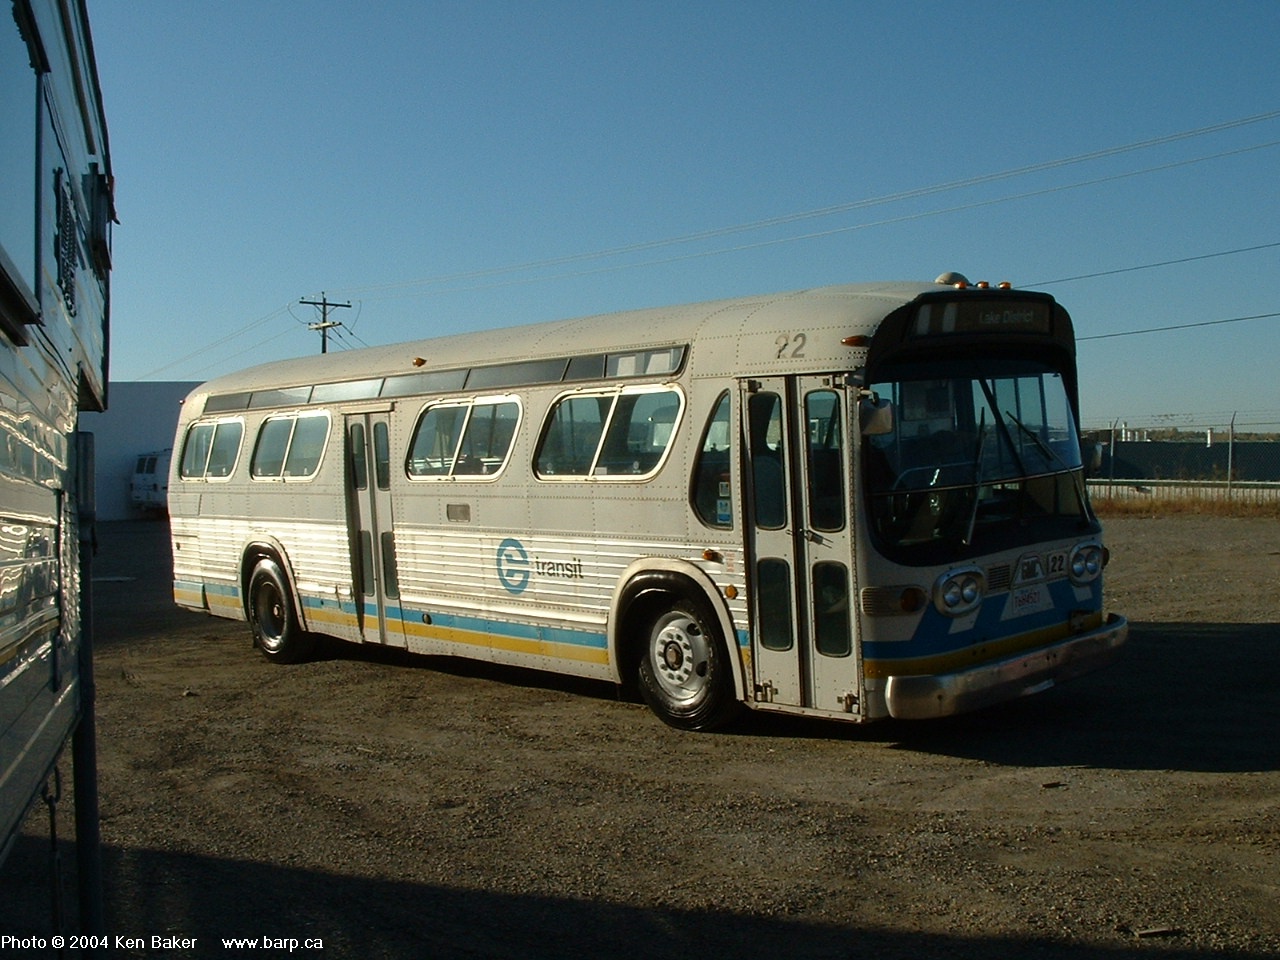
Well, the big day happened today! I had a service truck from Detroit Diesel come out to the bus to replace the bad injector, and all went well. The mechanic had the injector replaced in just a bit over an hour and by noon, I had my bus running for the first time on it's own power since 1998. The two previous times I am not counting as I had to use extra power to start it or had to bypass something to make it partially run. But now with the bus running, I am ready to proceed with looking into getting the one leaky tire fixed and getting the bodywork done, along with repainting the bus to it's 1978 looks. With the mechanical work done, it cost less than what I was quoted. It only cost me $426.11 instead of the $562 I was quoted last week. The first three photos above show the bus after the injector was replaced and I had backed it out to pose it for photos while the last 2 photos shows the injector replaced in the engine (Centre injector on the top of the engine.
August 12, 2004:
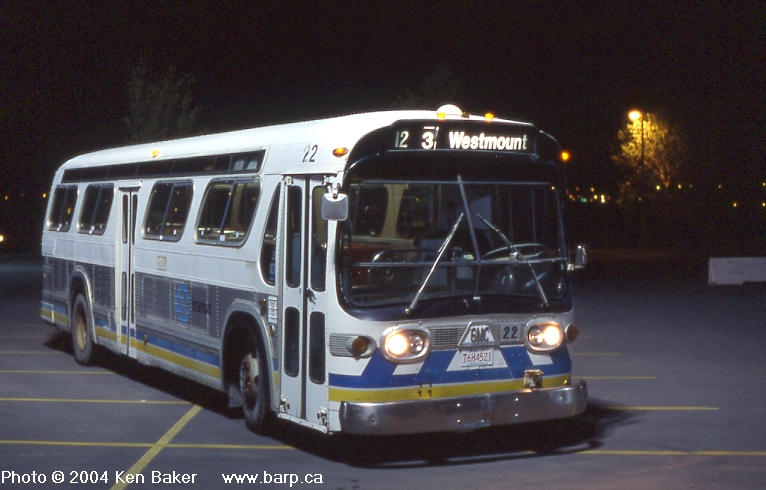
After the long wait of getting my bus running, I had a chance to enjoy the bus for the first time. I took the bus down to a local Wal-Mart store to pose it for a night photo, shown in the above photo as a Route 123 - Westmount. I took the chance of making a recording or the ride on my bus since the injector was fixed a couple days ago. Click here to listen to the 7 minute recording of the ride on my bus tonight.
August 16 and 17, 2004:
Now that I've seen my bus perform pretty stable, I have taken it in for a safety inspection for the work it needs. I need to replace a lot of the parts in the steering and suspension in the front, along with suspension stuff in the rear, fix some of the bulkheads, and replace brakes and drums on the bus. After waiting a day until August 17th, I had a quote done on the bus to replace and repair these defective parts with an estimated cost of $5500 that I was not budgeting for. For the time being, the bus is sitting at the yard where I have the mechanic working on it out of town and the two photos above show the bus waiting on August 17th for the parts to arrive. Hopefully in about a week's time, all the parts come in and are installed so I can continue onwards to the bodywork on this bus. Because of the error in the budget for the bus, I will now be pushing the paint job to early 2005 (Maybe the Spring time) and tires will probably be done towards the end of 2005 if and when it does go ahead. But for now, the undercarriage work will go ahead with the bodywork to follow possibly sometime afterwards. It's a shame that this bus requires a lot of undercarriage work, but then again, it will be necessary to do it one day as some of this stuff was in pretty harsh shape. However, when this work is completed next week, I'll have a bus that for the most part will pass a commercial safety inspection.
August 23, 2004:
I have just received word that my bus is pretty much all finished on the undercarriage work. There is only the bushings that remain to be installed on the bus. Otherwise, there is new king pins, new brakes and drums all around, new shocks, and some welding done on the frame and a couple of the bulkheads. The bus should be ready to be brought home later this week. I have had a couple of other things about the bus brought to my attention and they will be corrected as soon as possible.
August 27, 2004:
After spending a couple of weeks at the shop getting the repairs done, I have finally had 99% of the undercarriage work completed, with a couple of minor things still to do on the undercarriage. This work should be completed the next time I have my bus scheduled to come in. However, I was able to bring the bus home to continue on with cleaning, etc. Besides doing a winterization on this bus, that's all for the major work this year. Next year is when I'll look into doing the bodywork, paint, and tires unless something comes up before that. I can't forget that I also have to replace the windshield rubber gasket soon one day too and the lower driver's side windshield glass too. Although not the greatest photo in the world, but this shows the bus the night I picked it up to bring it home after the work was completed.
August 29, 2004:

Not much new to add to today's listing besides some photos. Ashton Wong and Kevin Lo wanted to see the bus, so I brought them up to see it running. I posed it for some photos around the yard today, along with doing some repair work. I had repaired a brake light, added in what I thought was all of the missing pieces for the horn button assembly (Which turns out there is a few more missing pieces then I hoped since it still doesn't work), and began retrofitting a stereo into the bus for future use. This time, learning from my mistake of the way I mounted the stereo, I will be mounting it vertically against the driver's draft door wall where it will be easier to control the radio from. I only have one speaker wired in part of the way so far, but the rest of the wiring will be completed another time. At least the hardest wire is in place. Thanks to Ashton Wong for these photos under today's section. The first photo in the series is showing me installing the horn button assembly and the rest show the bus pulled out for photos. You can see me behind the wheel in the front driver's side shot of the bus as I was turning the bus around for the rear photos.
September 4, 2004:
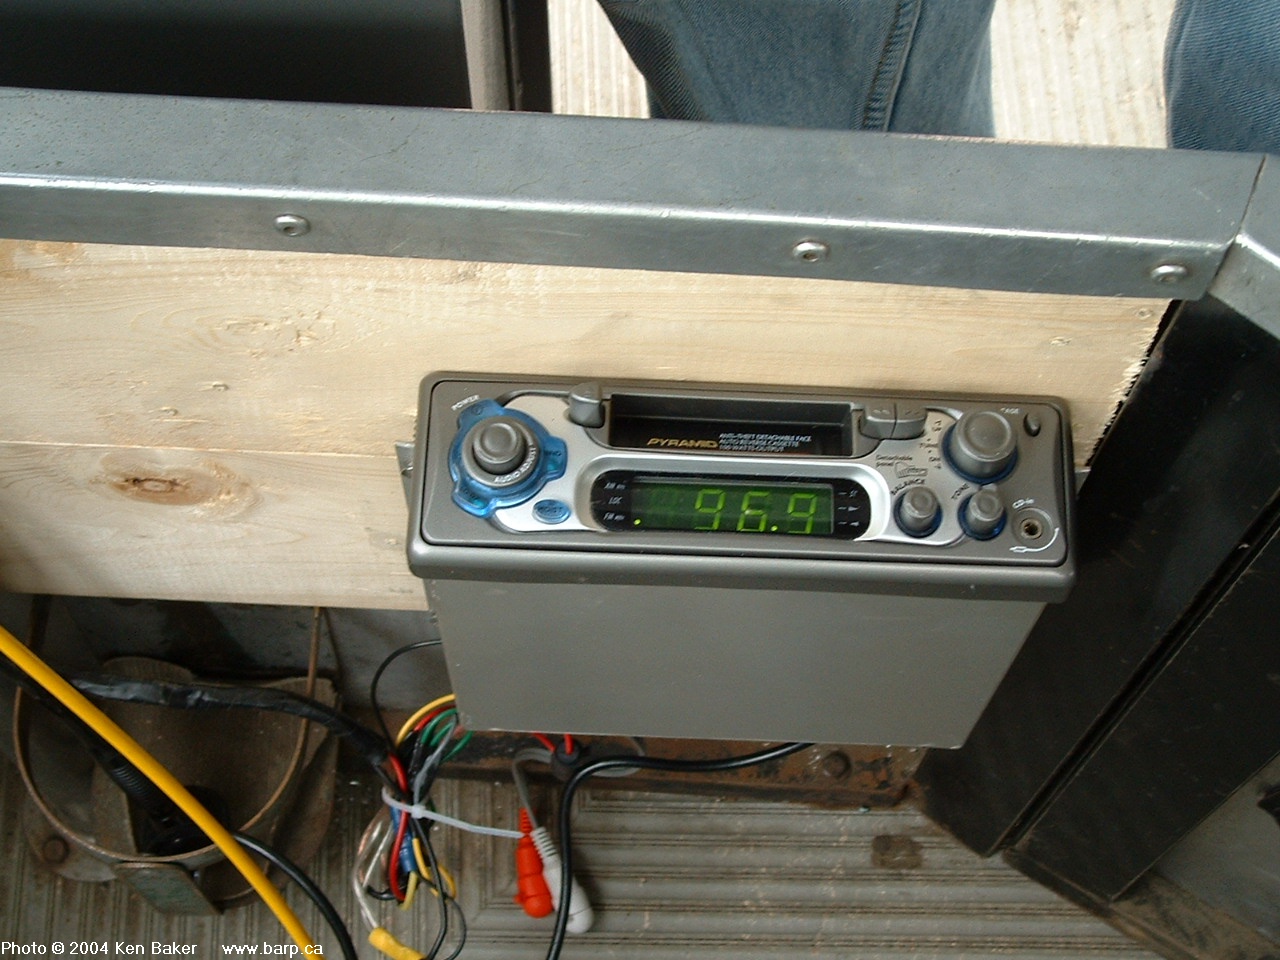

After beginning the work to retrofit a stereo system into this bus, it was finally completed. Two speakers were installed, one on each side behind the inward facing seats over the front wheels. The stereo system was also nicely mounted onto the "Draft Door" wall using 1"x5"x6' board cut down into 4 pieces and using the ETS "Book of Routes" holder to mount the stereo into place. The first photo from today shows the speaker mounted behind one of the front seats and the next two photos show the stereo mounted in it's new home. Although the stereo wasn't there originally, I decided to add one in anyways for when I work on the bus or whenever I felt like listening to some music on the bus. This modification is easily removable if I were to remove it in the future, I could.
Besides doing the work on the stereo system, some more cleaning took place and eventually also got around to sizing the decals to make for the new "E transit" logo that will appear on the side of the bus when it has been repainted. The first photo shows the E symbol and the word "transit" printed out to an approximate size that it should be made at. Pretty much it is within 1/4" of it's original size. The last two photos for today show the decal template from a further back distance to compare it with photos of buses in the paint scheme that this bus would eventually see.
September 18, 2004:
To help match the look of the bus from 1978, I spent the last week or so splicing destinations together that came off of a January 14, 1982 destination curtain to show some of the old destinations that were used at that point. All together, 23 new destinations were spliced in. They are as follows:
Avonmore
Central
Clareview Stn.
Churchill Sq.
Davies
Duggan
Downtown (Old style, non-italicized letters)
(blank)
Gov't Centre
Groat Road
Garneau
Kennedale
Lake District
Oleskiw
Mill Woods
North Ottewell
Pilot Sound
Ring
Ritchie
Sherwood Park
St Albert
Town Centre
Westbrook
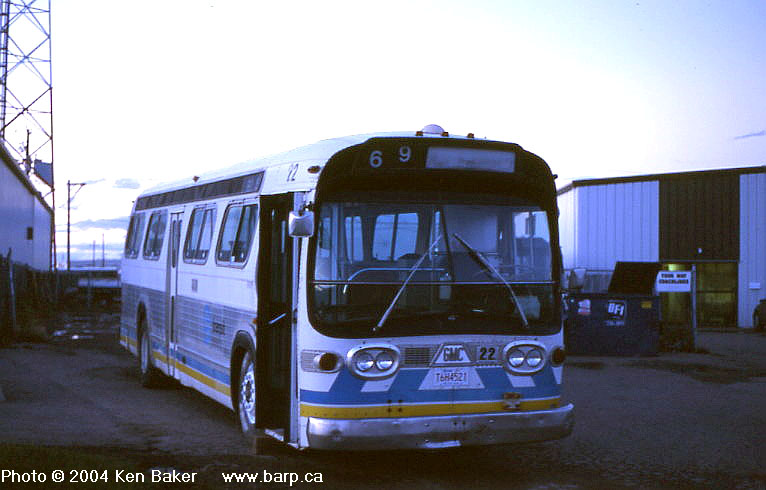
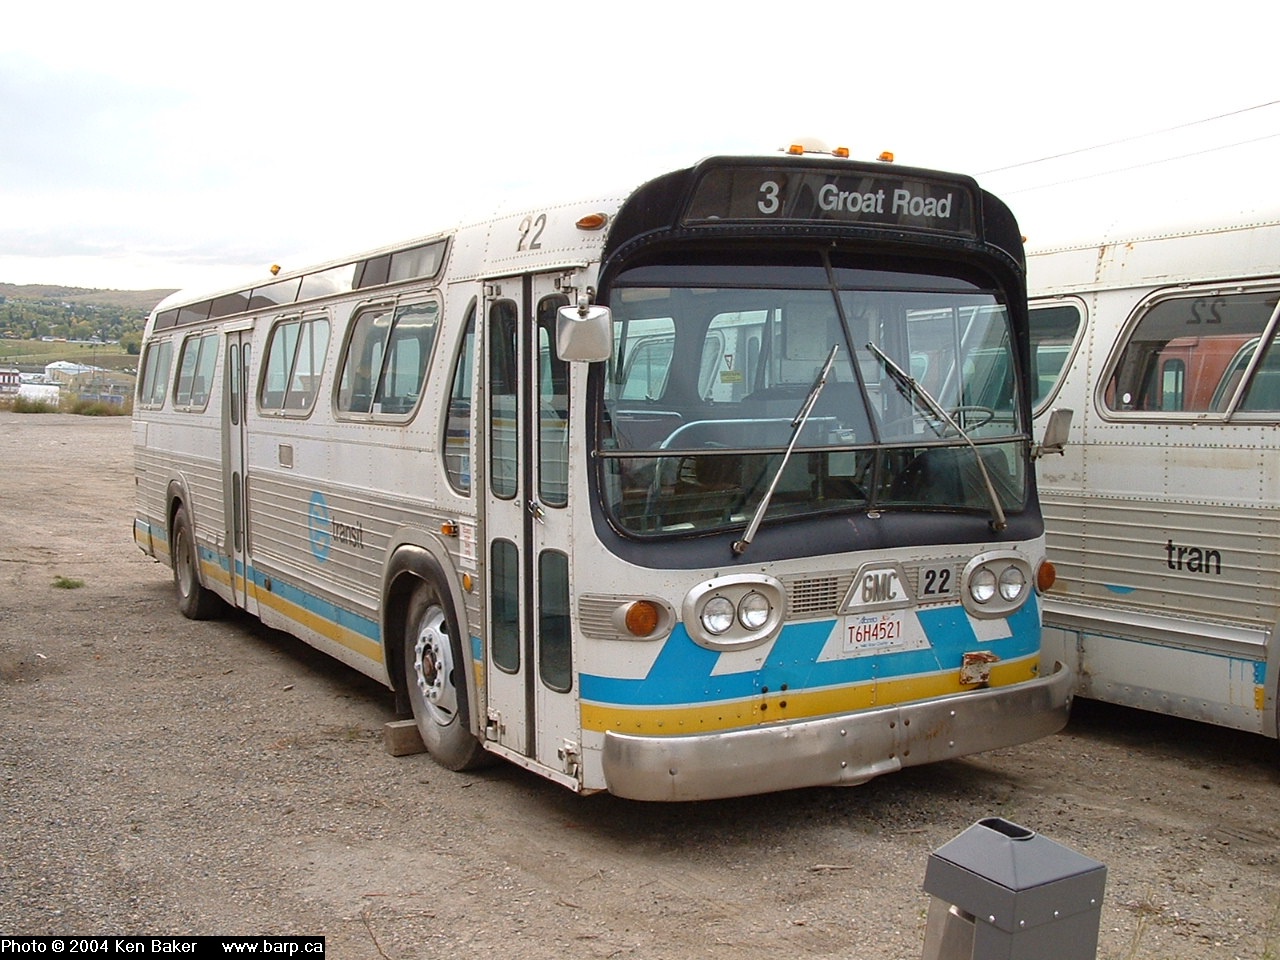
In the photo for today, I had the bus posed with the destination Route 3 - Groat Road on the sign, inspired by a photo of a trolley bus in the book written by Kevin Brown entitled "Swift, Strong, Silent - 60 Years of Electric Trolleybus Service in Edmonton". The photo is on Page 30 at the top of the page showing a photo of Flyer E800 #216 as it is shown at Cromdale Loop on August 15, 1978 sporting the silver/white paint scheme with blue and yellow reflective stripes with this same destination on it. Other than getting the sign back into place, I did some more cleaning and eventually changed out fareboxes on the bus to have the one that actually has a vault installed in it. Unfortunately the vault is stuck in the farebox permanently, but one day I'll have it looked at to get it fixed. Also today, I was able to reassemble the horn button assembly and it finally works! All it was missing was the contact piece between the bottom of the horn button assembly and the inside of the steering wheel assembly.
September 20, 2004
Today was a good step in the direction of getting my bus restored. One of the biggest of the remaining steps to getting this bus restored to serviceable condition was getting a better set of tires installed, ones that would pass a commercial vehicle inspection. With the help of Canadian Premier Charters/More Better Buses, I was able to obtain a set of 6 tires that had 50% life remaining on them. At the use that my bus would be seeing, these tires would last me at least a good 3 years or more. This saved an additional $2800-$3500 on the cost of getting brand new tires. They aren't cheap at between $430-$500 each tire, depending on brand, quality, etc.
September 25, 2004:
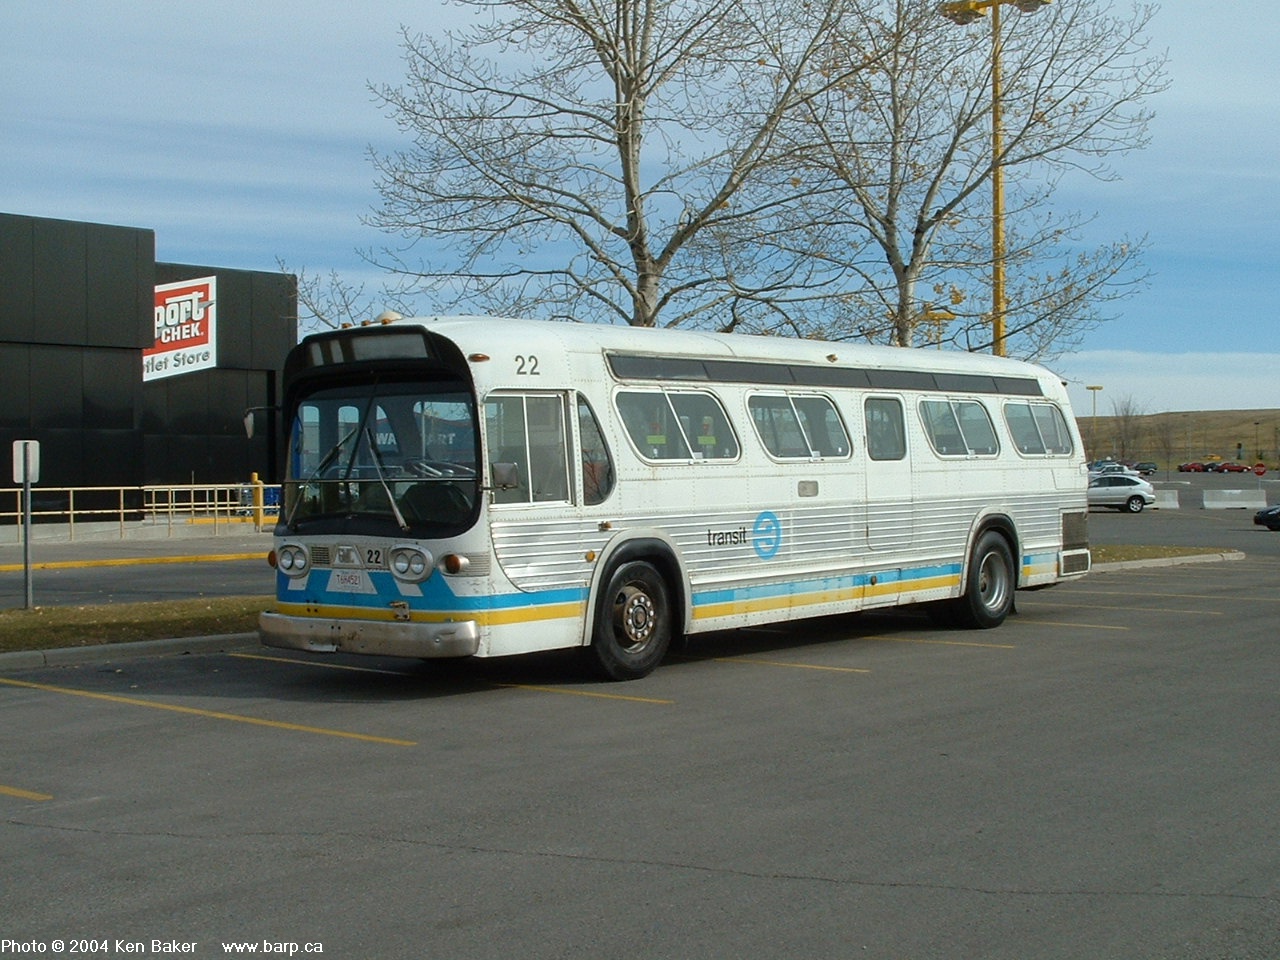
Today was my first day to try out the new tires on my bus. After taking the bus for a spin around the industrial area, I could definitely feel the difference between the old tires (Goodyear City Cruisers) that weren't the greatest of shape and were hard riding versus the new tires (Goodyear Metro Milers) which ride smoother and absorb the bumps better. This photo taken today shows the bus for the first time with the new tires installed.
October 5, 2004:
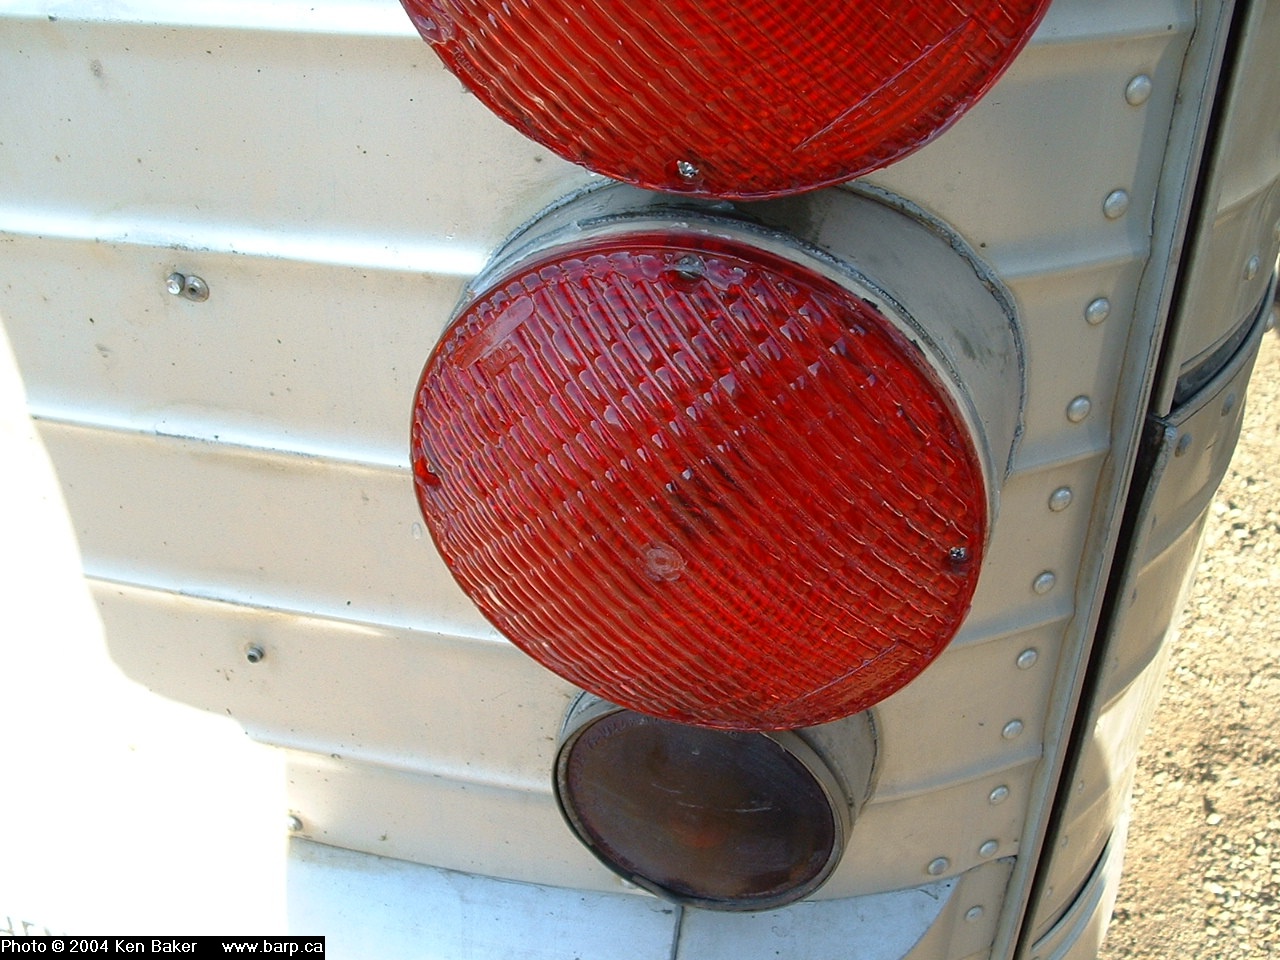
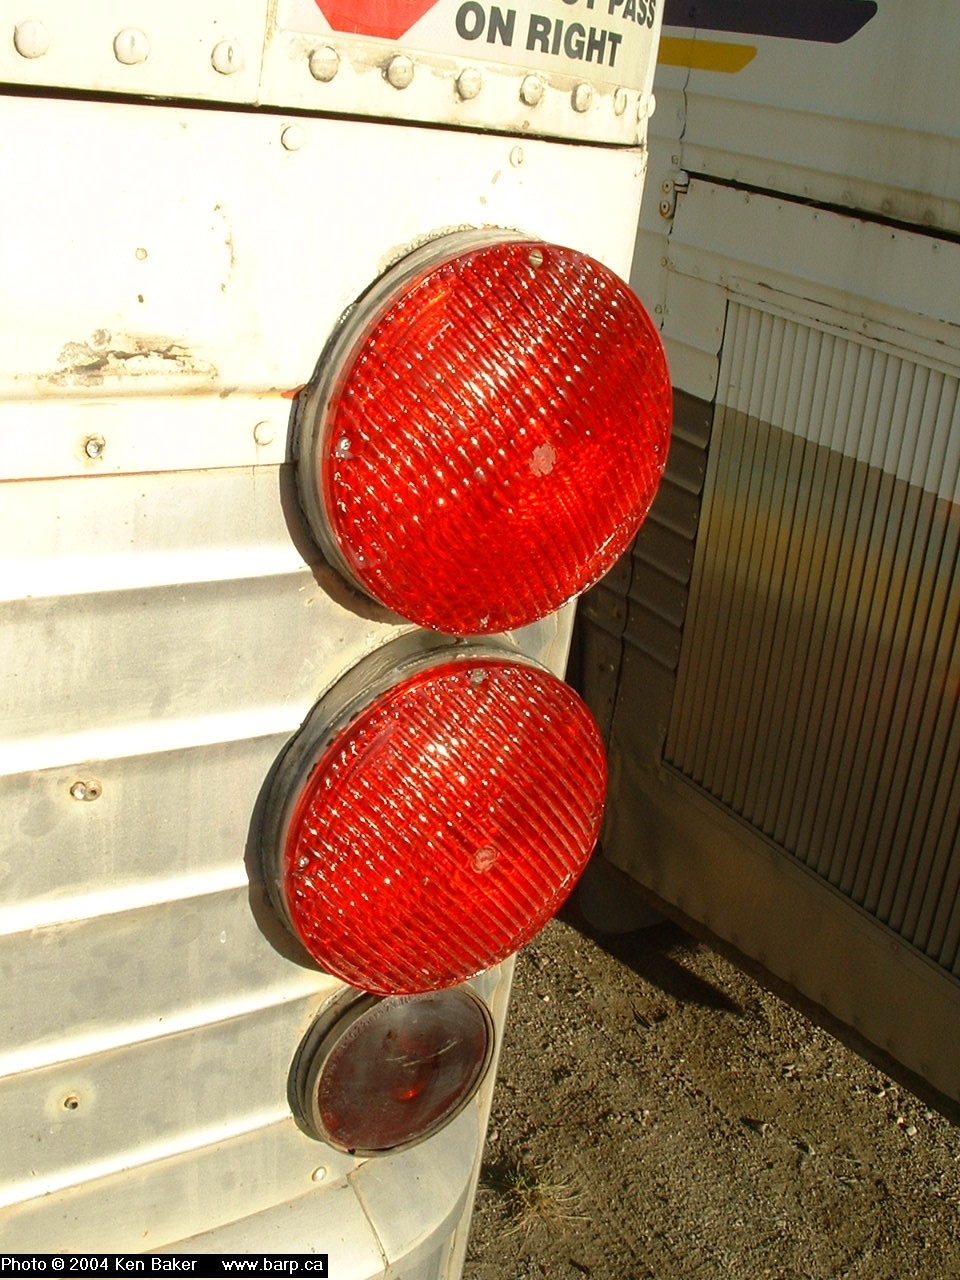

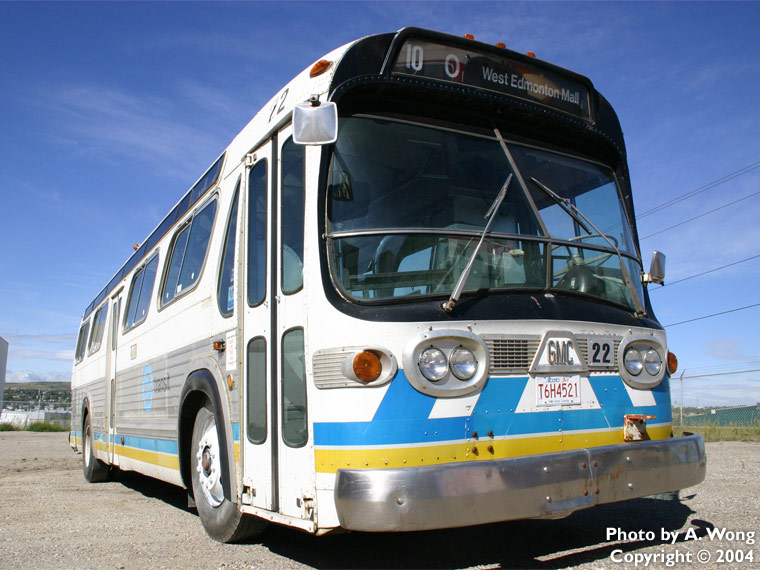
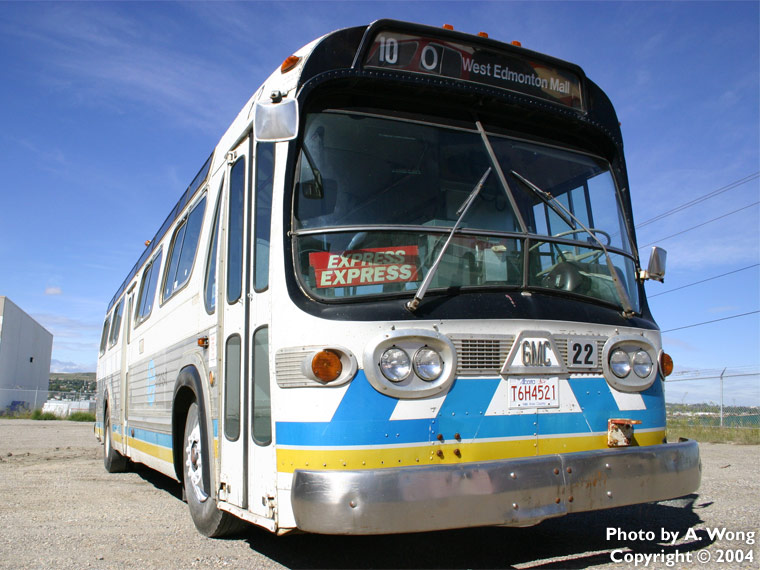
After searching the internet for some parts for my bus, I came across a source out of the US for some nice new lenses to replace the current turn and brake lights with something more original. I do remember seeing a photo somewhere that showed the rear of an Edmonton Transit T6H4521 with red taillights of this style. Even comparing photos of buses of similar age that had original style taillights, this same type of lens and having them in red only was shown. The first photo and the last 3 photos show the bus with the new lenses on the bus. The other two photo show the bus pulled out and photographed with the new tires installed. Also today, I tried out a product to give the wheels and any other rubber I tried it on a nice shiny gloss look of "Wet Wheels", giving the illusion of brand new wheels and rubber fenders around the wheel well openings.
October 11, 2004:
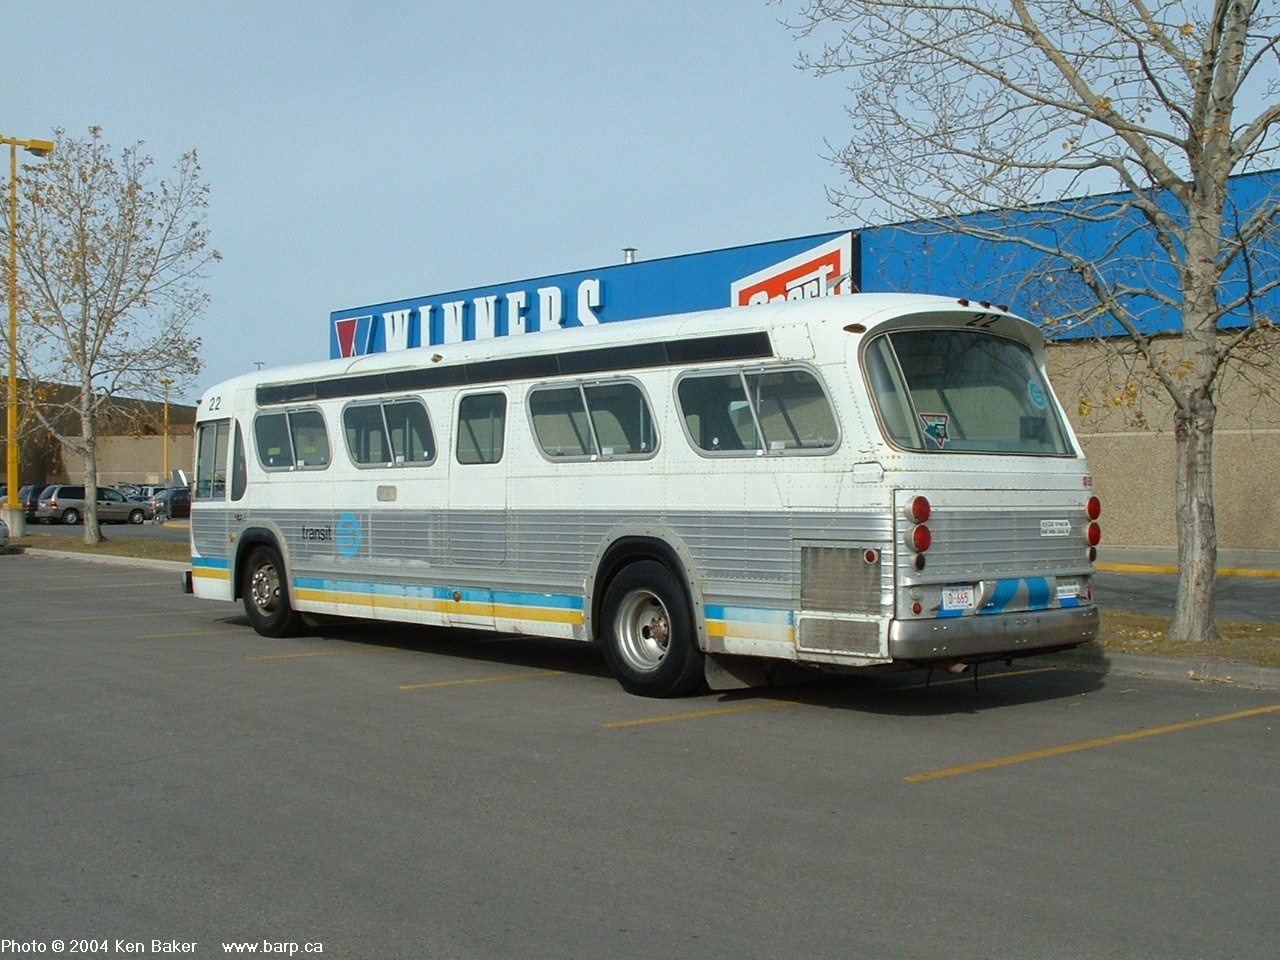
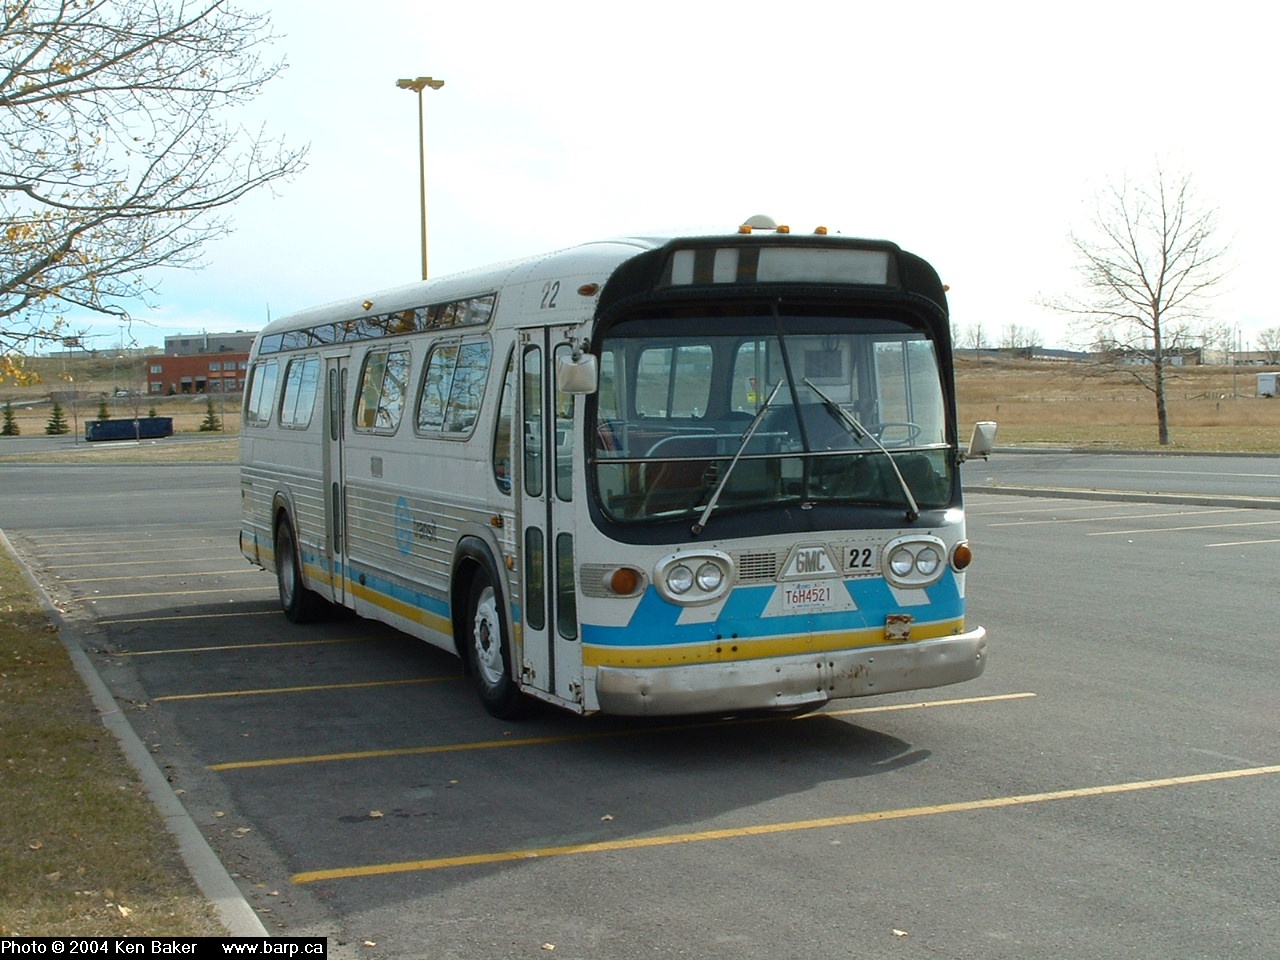
On Thanksgiving Day, I decided to take #22 out for a carwash and then go for lunch at Deerfoot Mall in NE Calgary. Shortly after a lunch stop, I posed 22 for a few photos showing off the new tires that the bus got back on September 20, 2004 and how well the "Wet Wheel" look turned out on the bus. Just looking at these photos, the "Wet Wheel" product made my tires and the rubber fenders around the wheel well openings look like brand new again! My next project I would like to try it out on is the grey rubber floor to see if I can bring some life back to it. The grey rubber floor looks like it is dried out and can use some freshening up.
This page last updated on May 10, 2005